
Insider Techniques: Master Code Tests for Evaluating Secondhand Android Smartphones
Insider Techniques: Master Code Tests for Evaluating Secondhand Android Smartphones
Quick Links
- Why You Should Be Using Secret Codes to Test Used Phones
- Testing the Hardware
- Test the Buttons and Vibration Motor
- Test the Screen
- Simulate a Fake Call
- Test the Charging Port and Headset Port
- Test the Sensors
- Test Battery Health
Key Takeaways
- Use secret Android codes to test used phones before buying to avoid hidden hardware issues.
- Third-party apps might not cover all hardware aspects like Android’s built-in diagnostic tools.
- Check IMEI, buttons, screen, ports, sensors, and battery health.
Used phones sometimes have faulty hardware that might escape basic inspection. That’s why I recommend running top-to-bottom diagnostics on the phone before you hand over the cash. Thankfully, Android phones have secret codes for doing just that.
Why You Should Be Using Secret Codes to Test Used Phones
A few years back, I bought a second-hand Android phone whose fingerprint scanner stopped working after a while. It worked as expected during the initial purchase, but when I brought it home, it wouldn’t pick up my fingerprint. Turns out, the scanner only stays active a short while after rebooting the phone. In retrospect, I should have learned whether used phones are worth buying in the first place.
I had also seen friends and family pick up phones with dead pixels, dead touch zones, and all kinds of networking issues. Since then, I’ve been using secret Android codes to test used phones. While secret codes aren’t the only way to test phones—you can find plenty of apps on the Play Store to do the job—I recommend you use them for a few reasons:
- Third-party apps aren’t always reliable or comprehensive.
- Grabbing apps from the Play Store requires signing into your Google Account, which is a hassle on a phone that hasn’t been set up yet.
- The secret codes launch built-in diagnostic tools made for the express purpose of testing hardware quality.
The testing tools contain hidden settings that aren’t available in the regular settings app. To launch them, you need to punch a secret code into the dialler app. Since these tools aren’t user-facing, the codes are not officially made public.
Where to Find the Codes
Some of the codes can be slightly different depending on the manufacturer of your phone. We’ll be using a Redmi phone in this guide, which shares the same code with Xiamo and POCO phones. Here are a few of the codes for popular Android brands to open the “Diagnostics Mode.”
- Samsung Galaxy: ##4636##
- Google Pixel: * # * # 7287 # * #*
- Motorola: *#*#2486#*#*
- Xiaomi, Redmi, POCO: *#*#64663#*#*
You can find the code for your device by searching for “secret Android codes + the device brand name.” Look for codes that trigger diagnostics mode, engineering mode, or CIT tools. Once you have the code, you can run tests on each hardware component. All that might sound overwhelming, but this guide will walk you through every single step.
Testing the Hardware
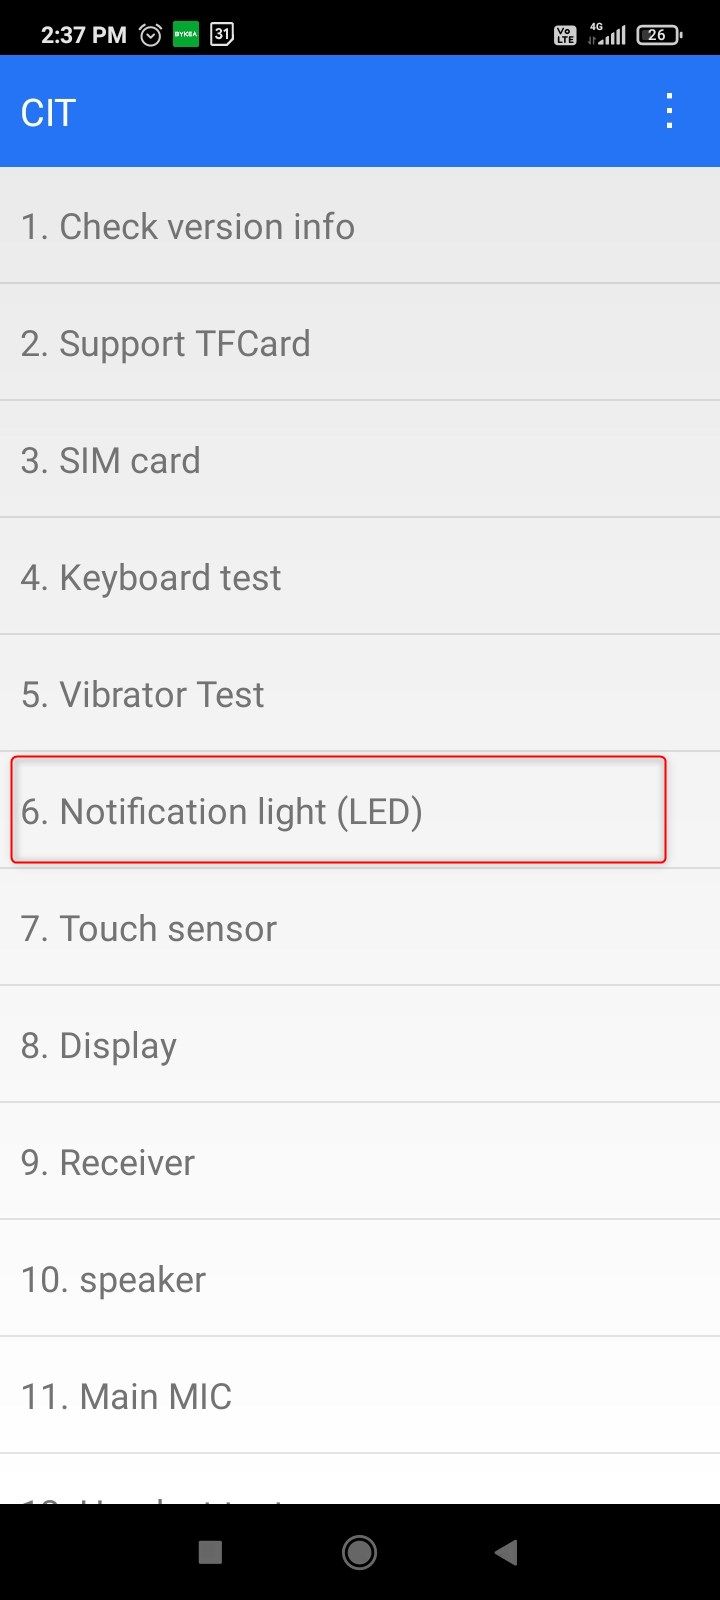
To start, type the diagnostic code into the phone’s dialler app, and it will automatically take you to the testing tools. This will likely look different depending on your phone model, but similar options should be available.
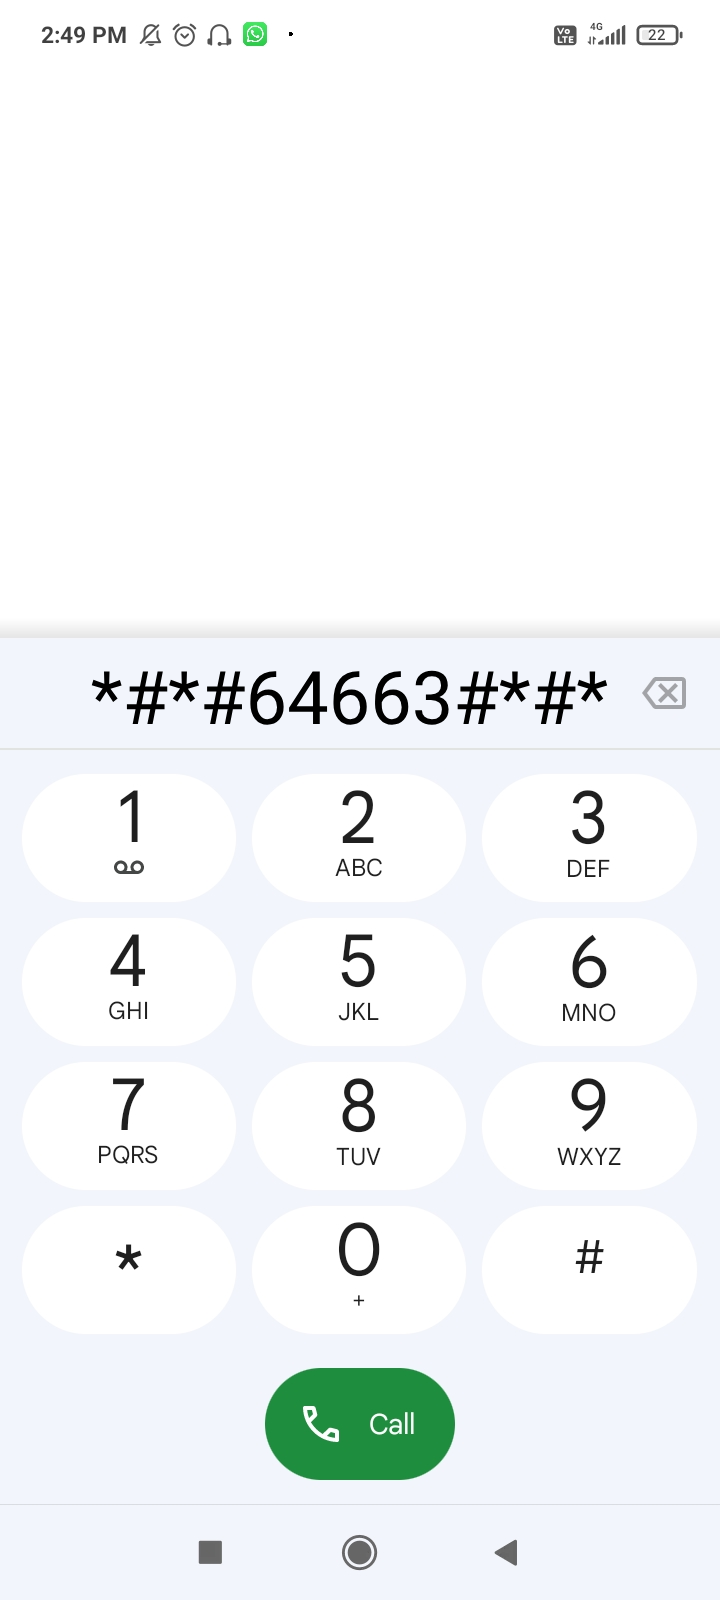

Close
The very first thing you want to check is the hardware tags. Look for the IMEI number . Every phone has a unique identifying number called the IMEI number, which makes it easy to blacklist lost or stolen phones. Phones with blacklisted IMEI numbers become unusable.
Tap “Check Version Info” to reveal the phone’s IMEI number (dual-SIM phones have two IMEI numbers). Note the number and enter it into an IMEI testing tool such as Swappa or Imeipro.info . If the IMEI is clean, tap the “Pass” button and move on to the next check.
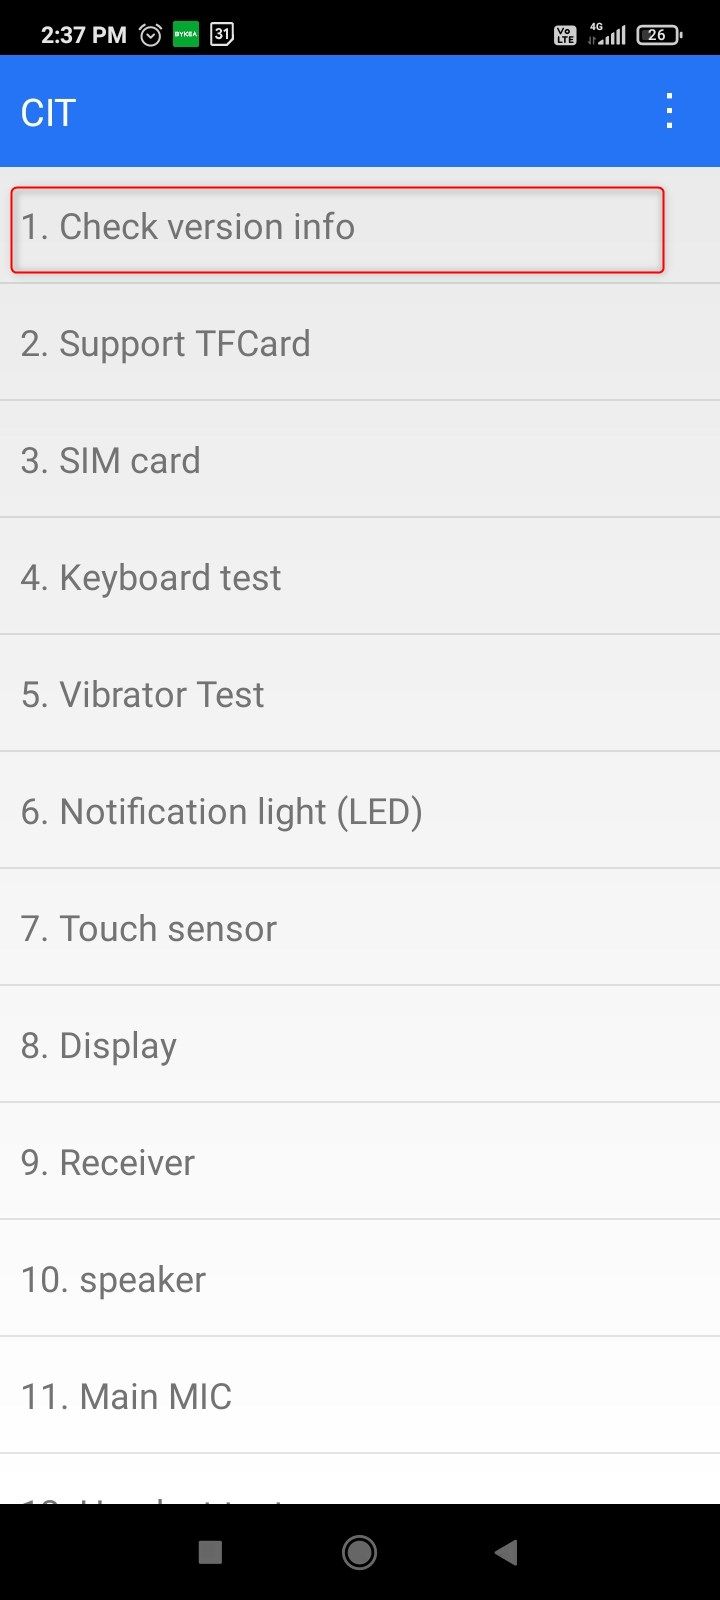
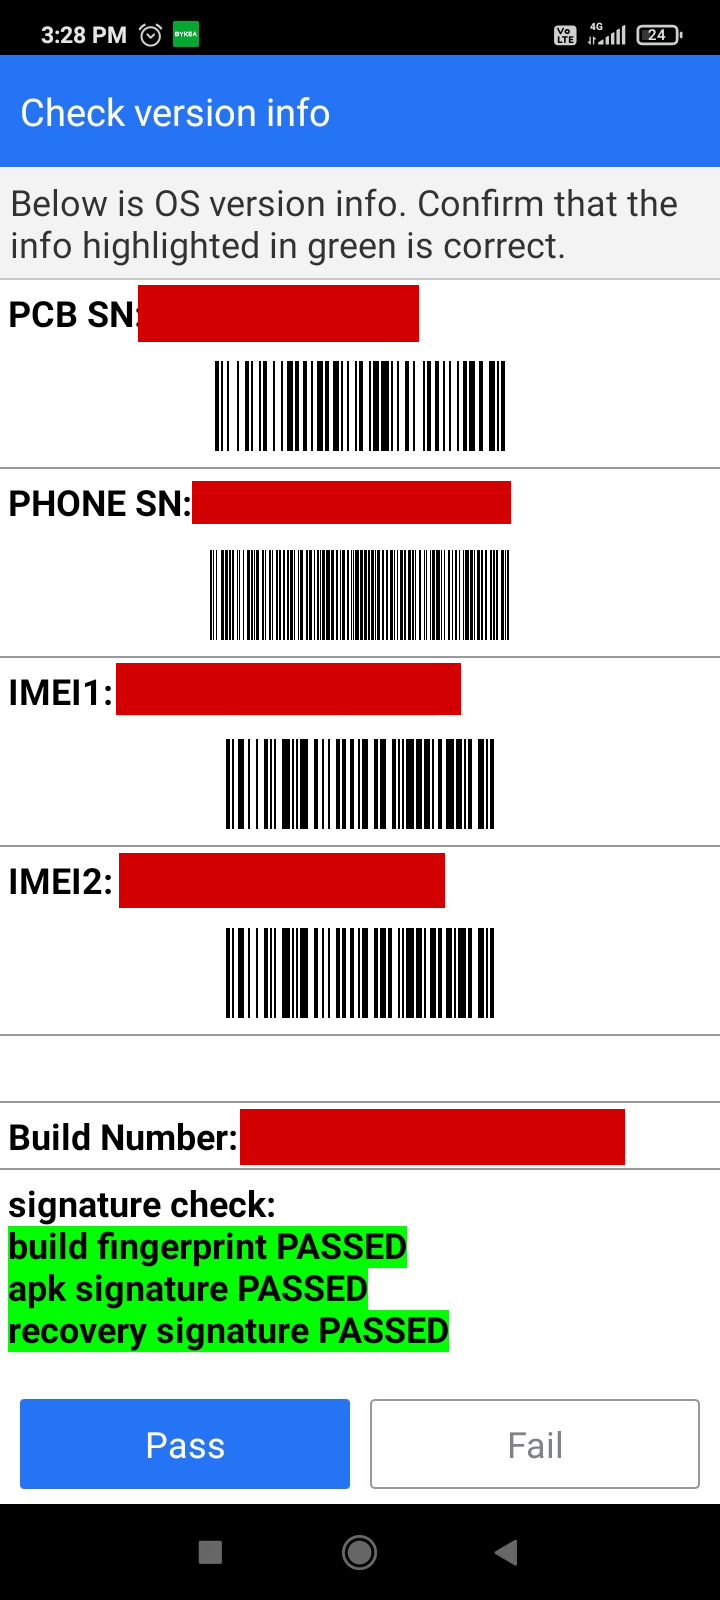
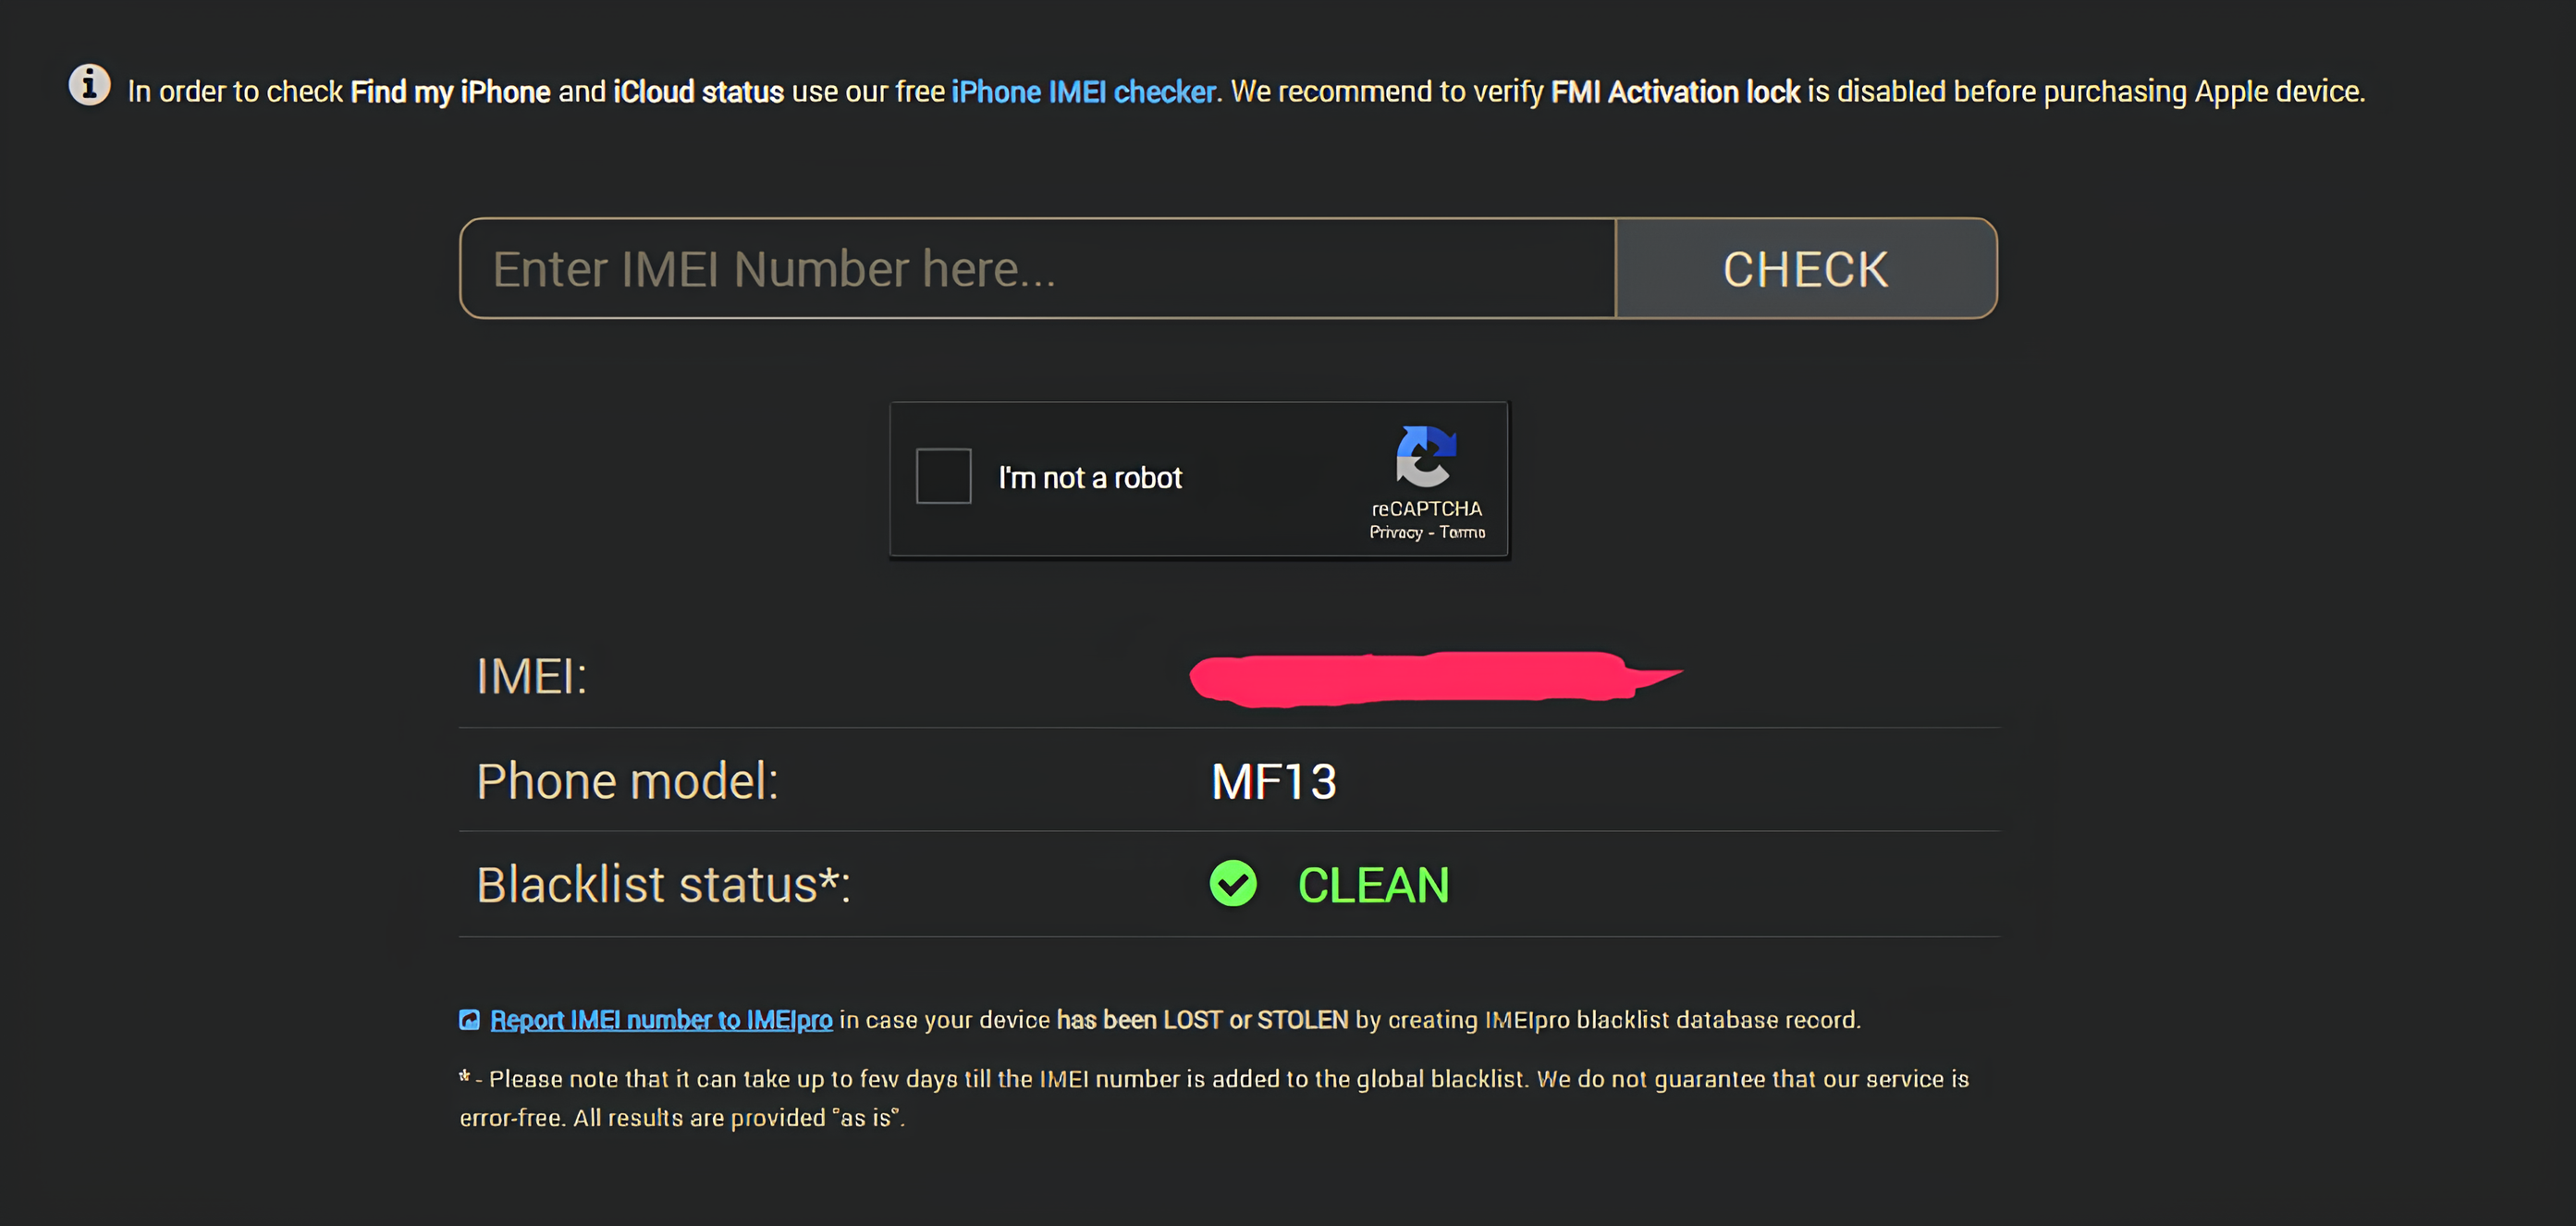
Close
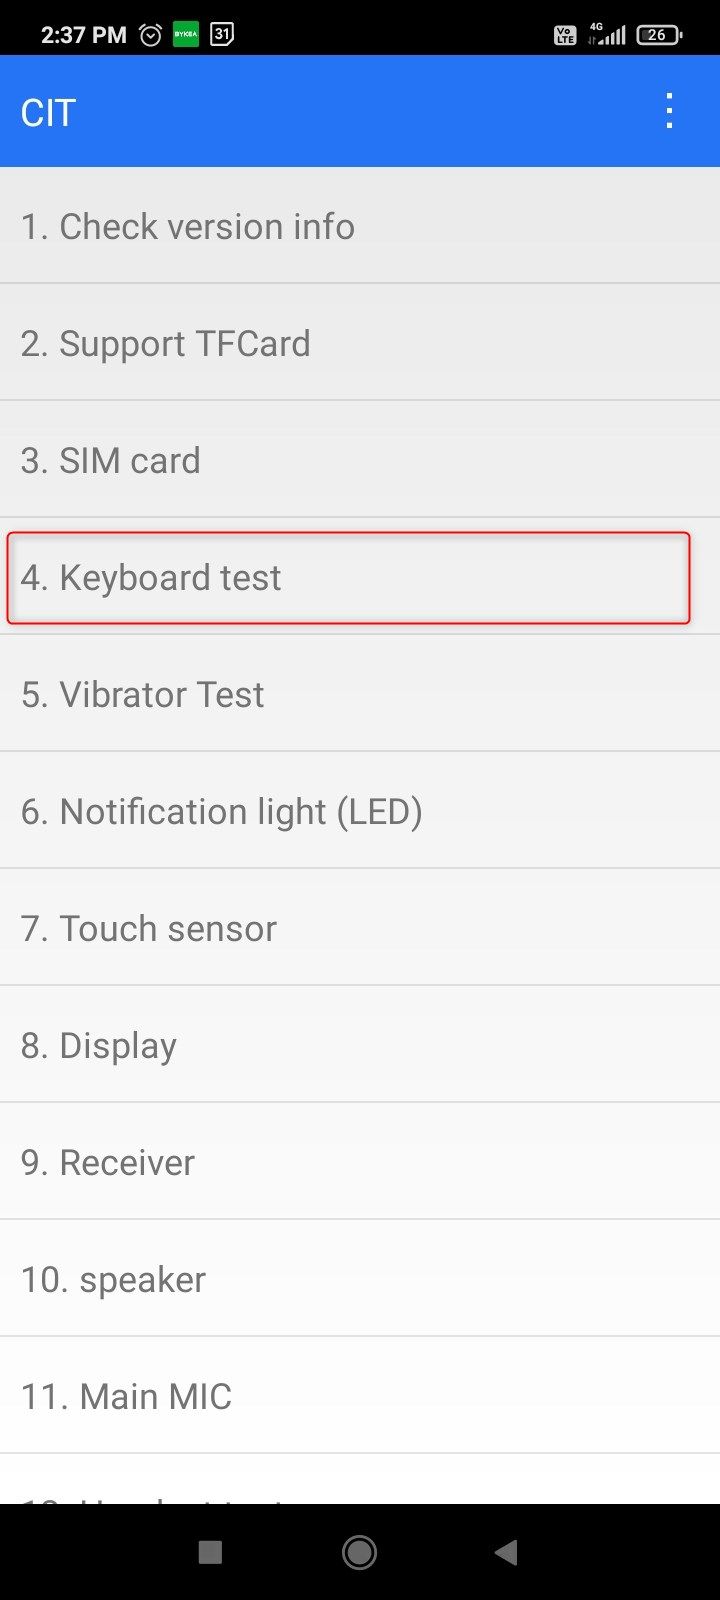
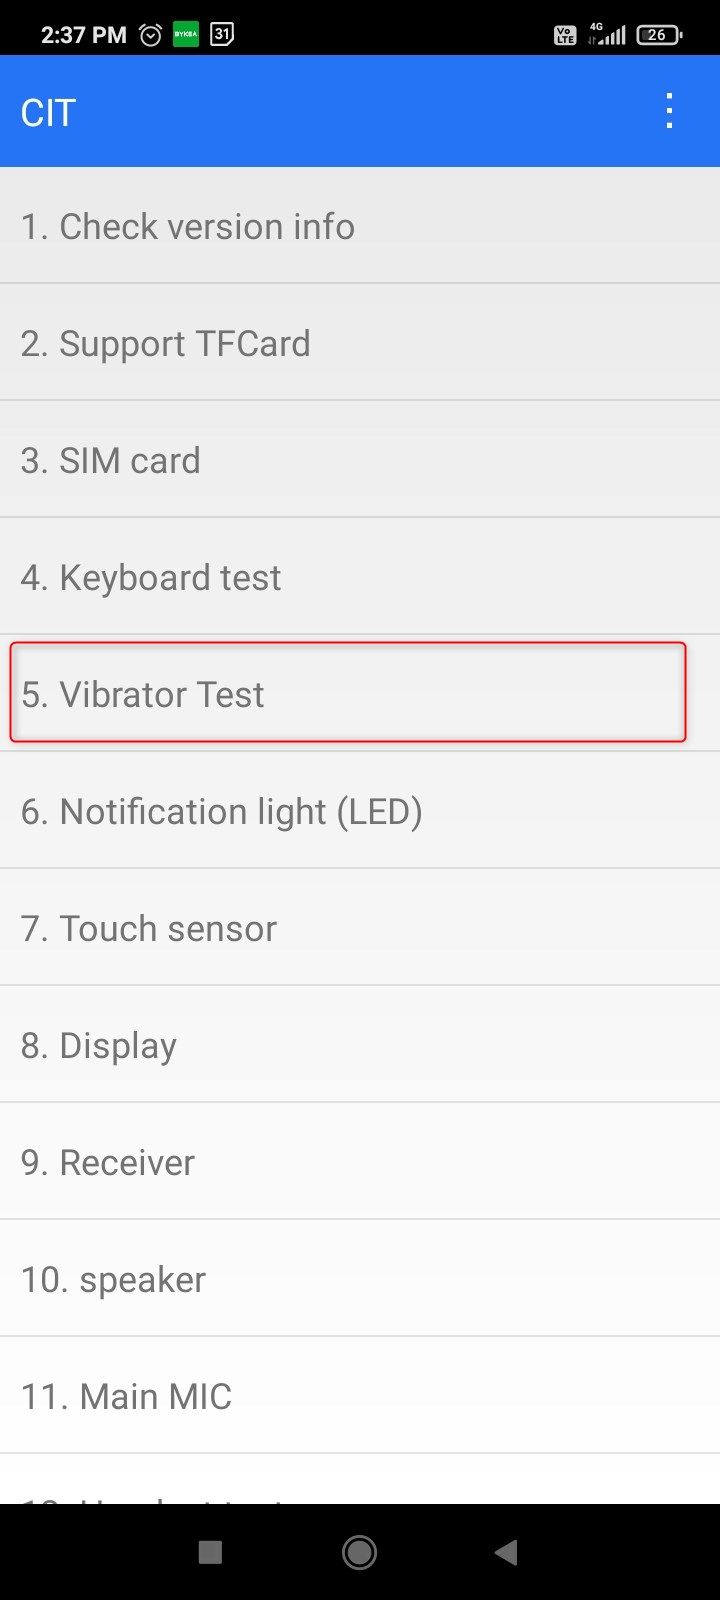
Test the Buttons and Vibration Motor
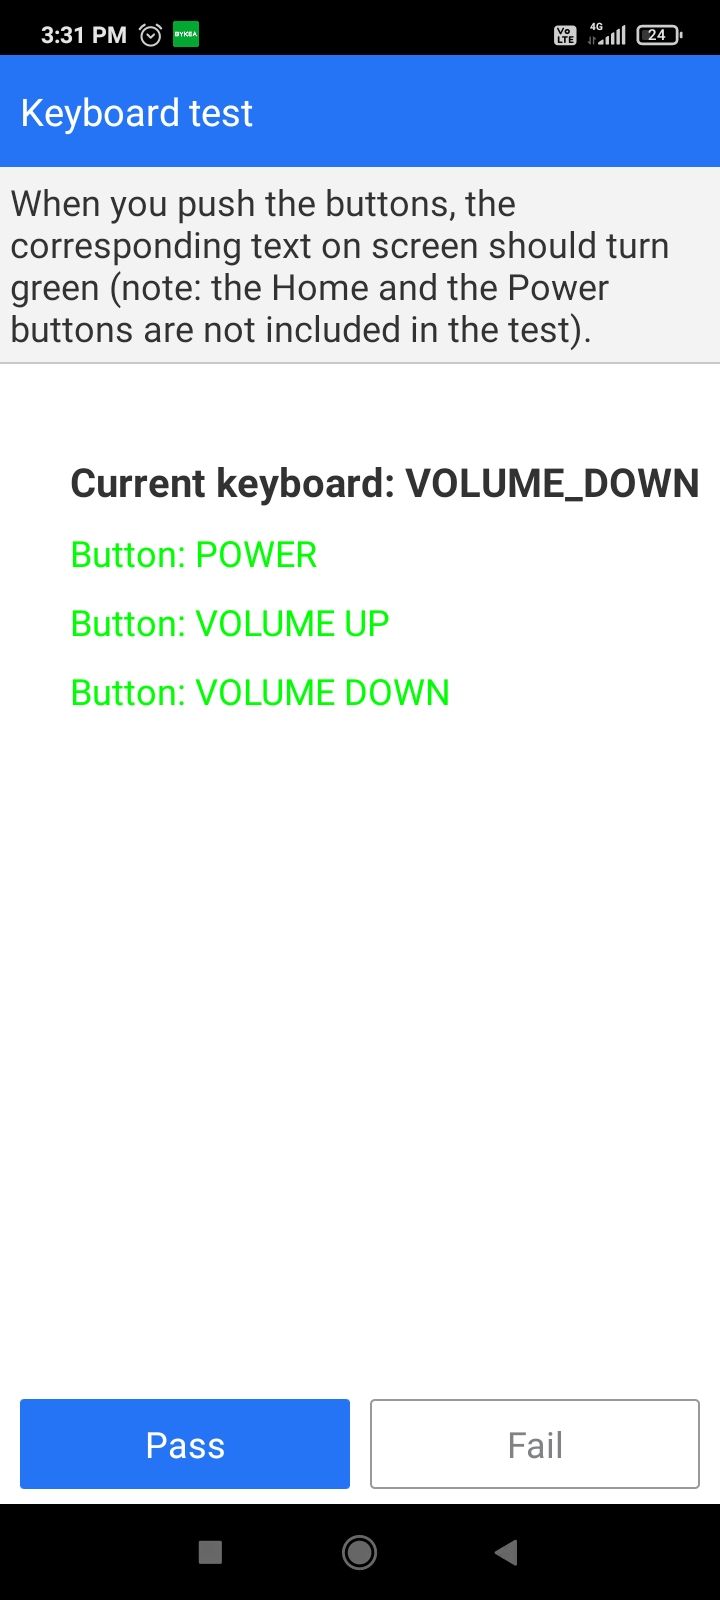
On the main menu, tap “Keyboard Test” to test the physical buttons on the phone. When you press a button, it should light up green. Faulty buttons will appear red. The phone I’m testing has three buttons, all working perfectly.
Close
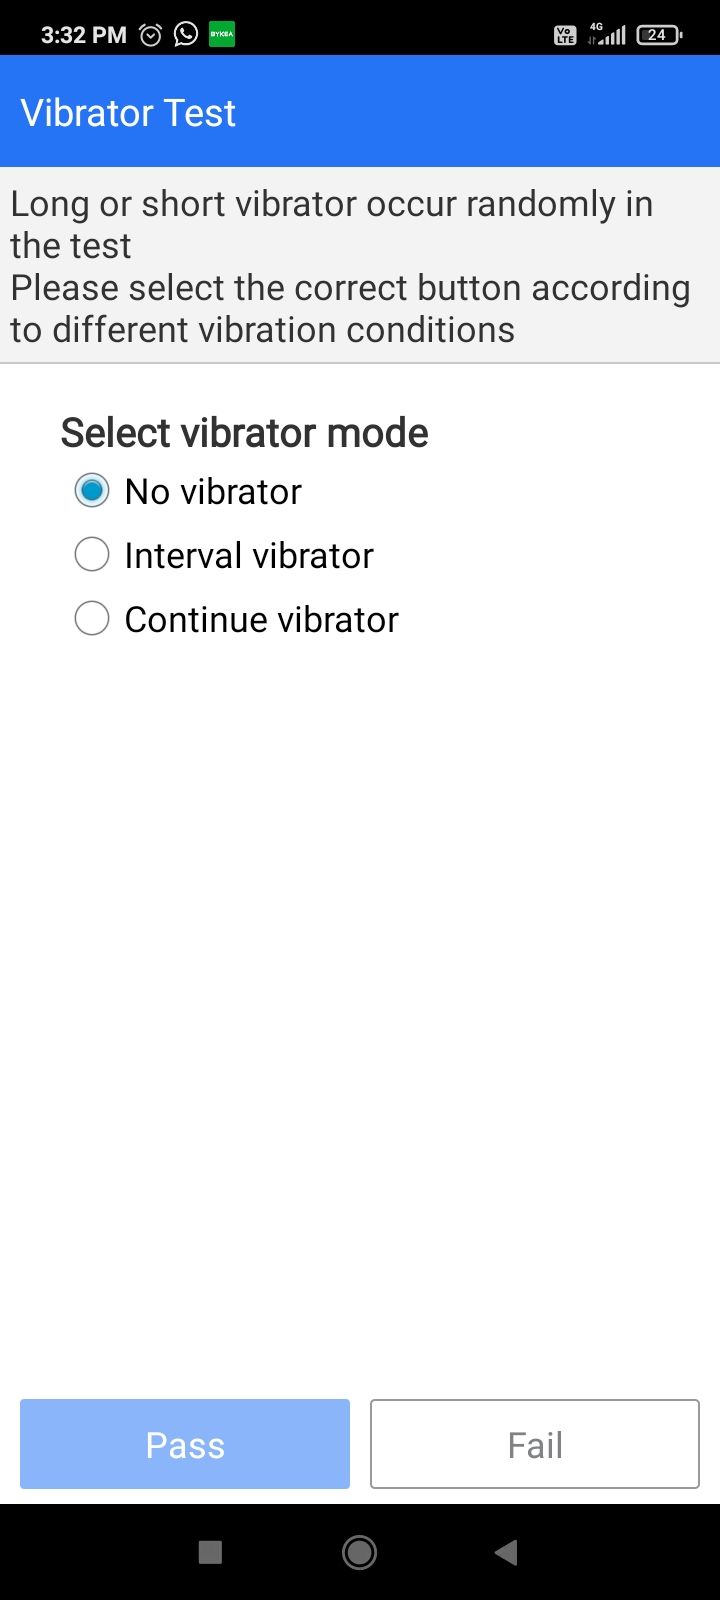
Once satisfied, tap “Pass” to automatically move to the vibration motor test. Tap “No Vibration,” “Vibration Interval,” and “Continuous Vibration” to make sure the motor works in different modes. Tap “Pass” to mark it.
Close
Test the Screen
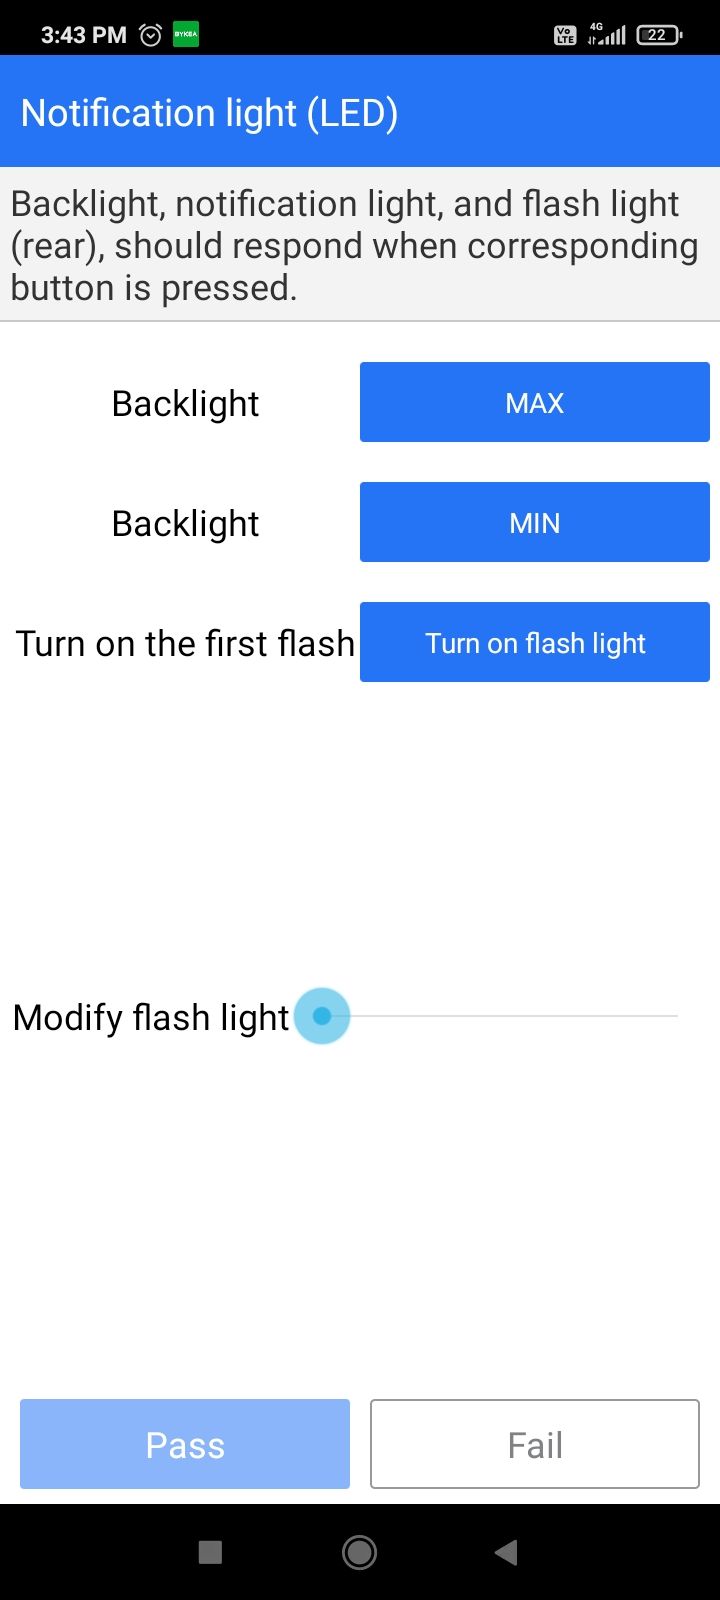
The diagnostics app should automatically take you to the Backlight Test after the last step. Here, you can test the minimum and maximum brightness of the display. Turn the flashlight on and off too.
Close
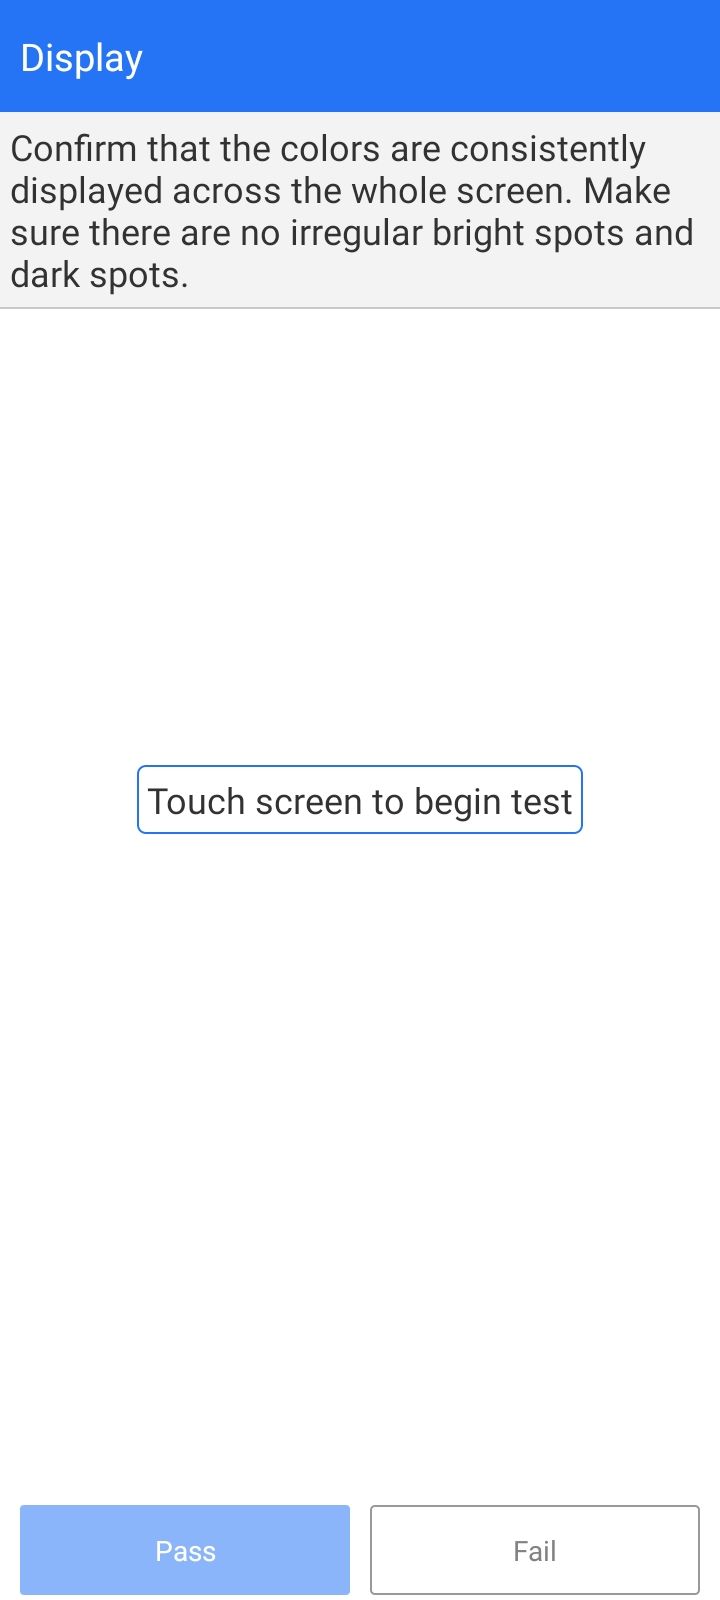
After that, you’ll land on the touch sensor test, which is just a bunch of blocks that fill in when you touch them. Next up is the color test. Touch the screen to start the test and scroll through the solid colors. You’re looking for any bright or dark spots on the screen.

Close
Once you’ve made sure that the colors are showing up consistently, tap “Pass.” And with that, you’ve successfully tested the display.
Simulate a Fake Call
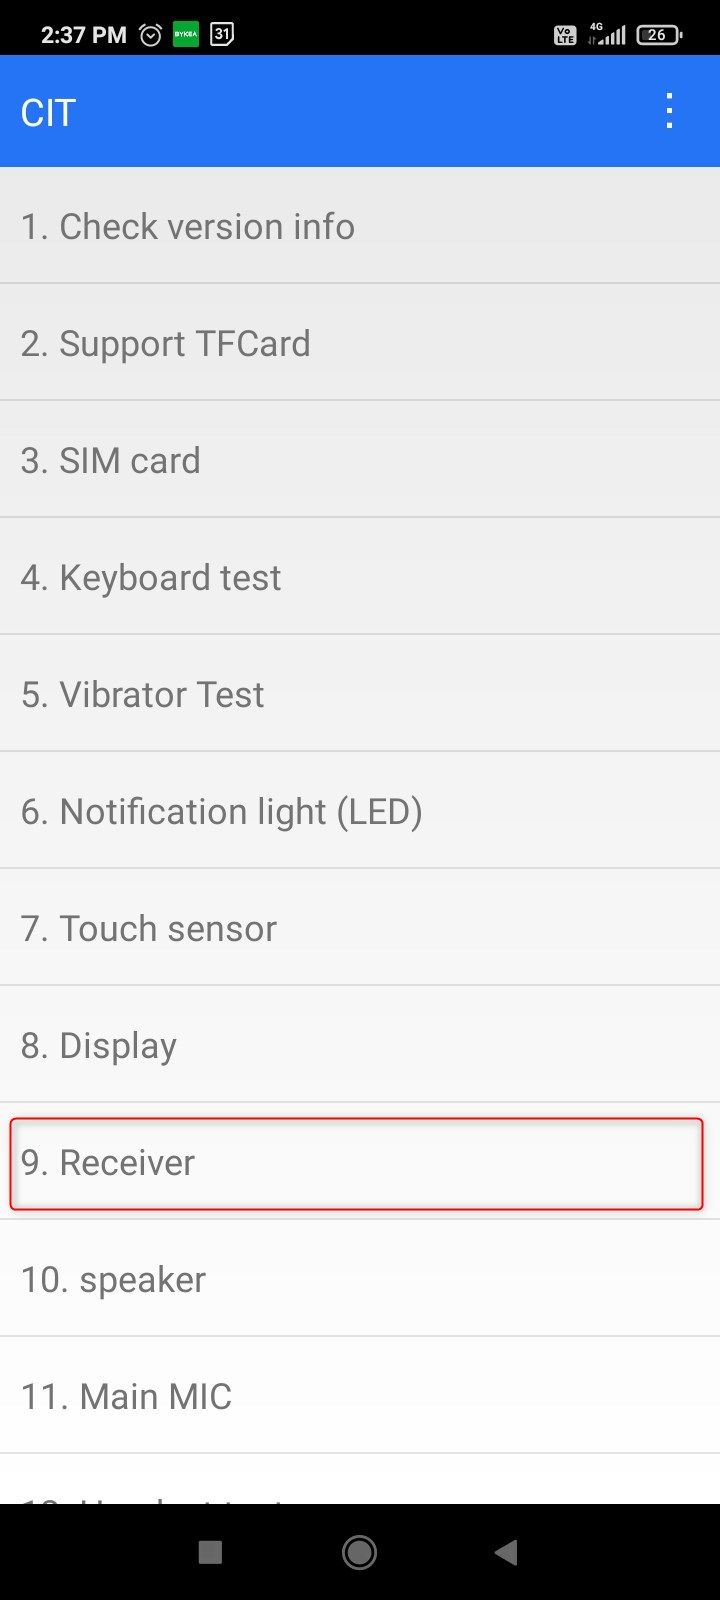
The best way to test the receiver and the mic is just to make an actual call. But if you don’t have a SIM card handy, simulating a call is the next best thing. Simply tap “Receiver,” hold the phone up to your ear, and tap the numbers read aloud to you. Tap “Pass” to load the speakerphone test.

Close
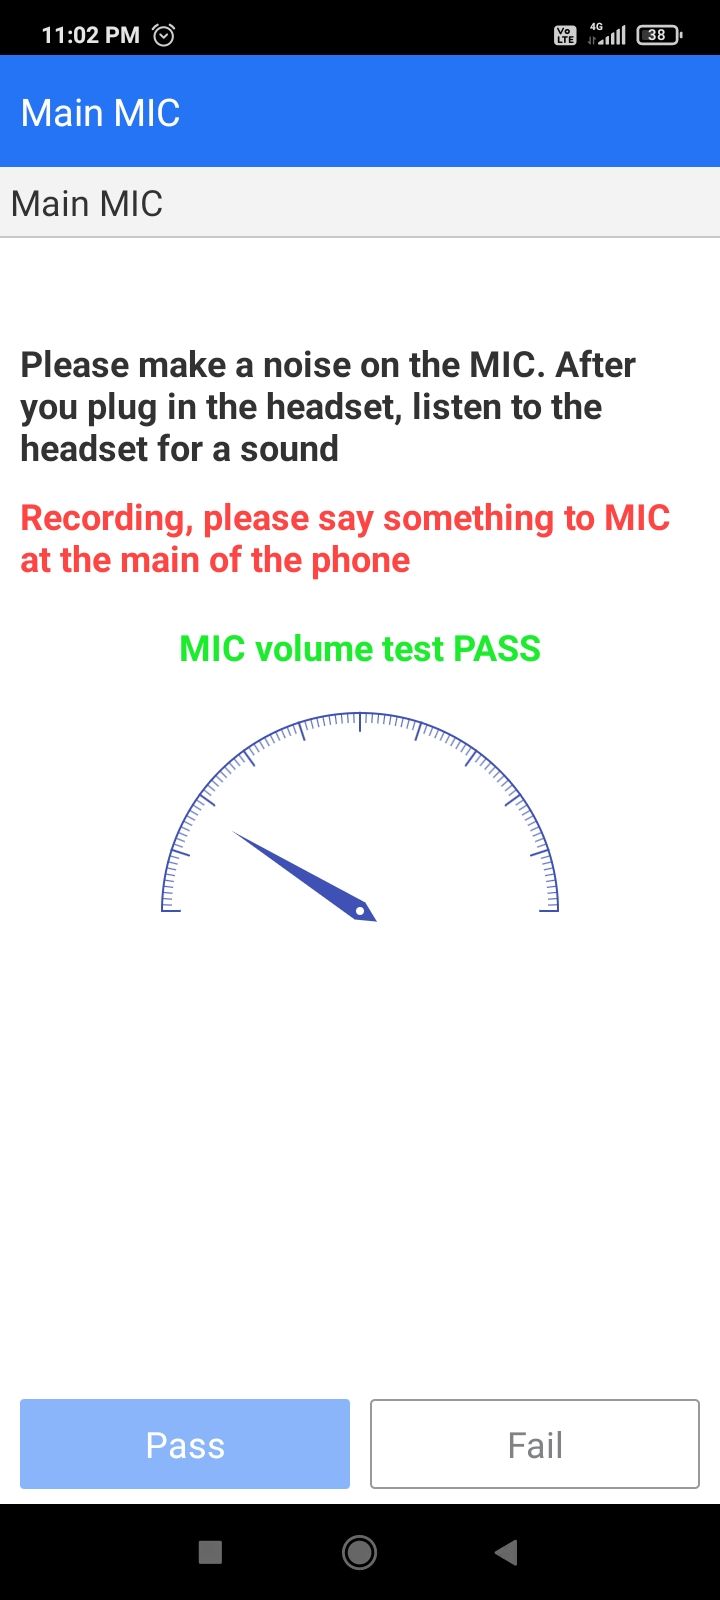
Once again, you’ll press the numbers read out loud to you. Mark it “Pass,” and you’ll get the mic test. Say something close to the mic and see if the phone picks up the sound.
Test the Charging Port and Headset Port
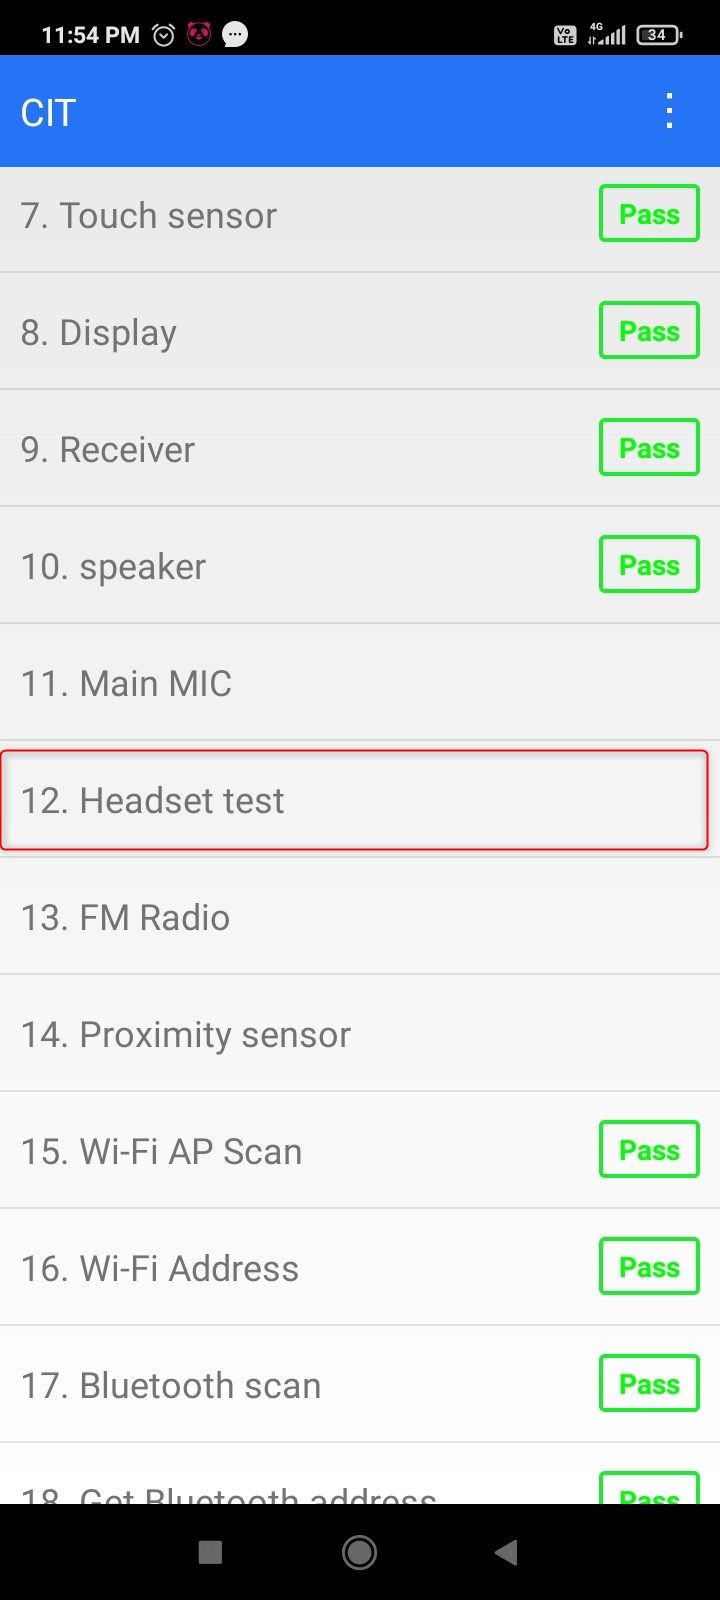
Newer premium phones don’t have those anymore, but 3.5mm headphone ports are still common among budget Android phones. Tap “Headset Test” and connect a wired headset. It’ll automatically record ambient sound using the headset mic and play it back through the headset. You can also test the headset buttons here. Take the headset out to complete the test.
Close
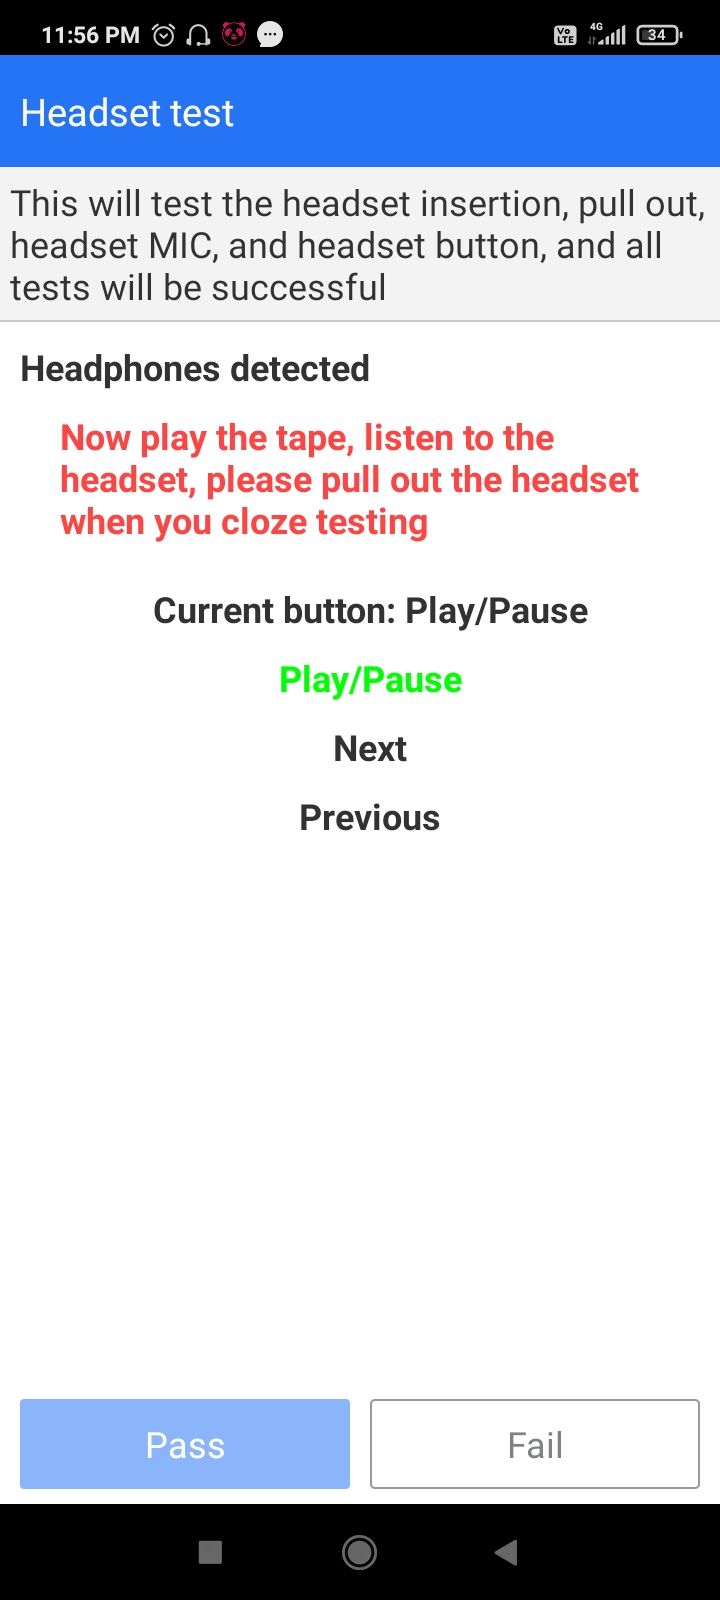
Now go back to the main menu and tap “Charger Test.” Plug in a charger and take note of the reading. A functional charging port should output close to or more than 1 Ampere.
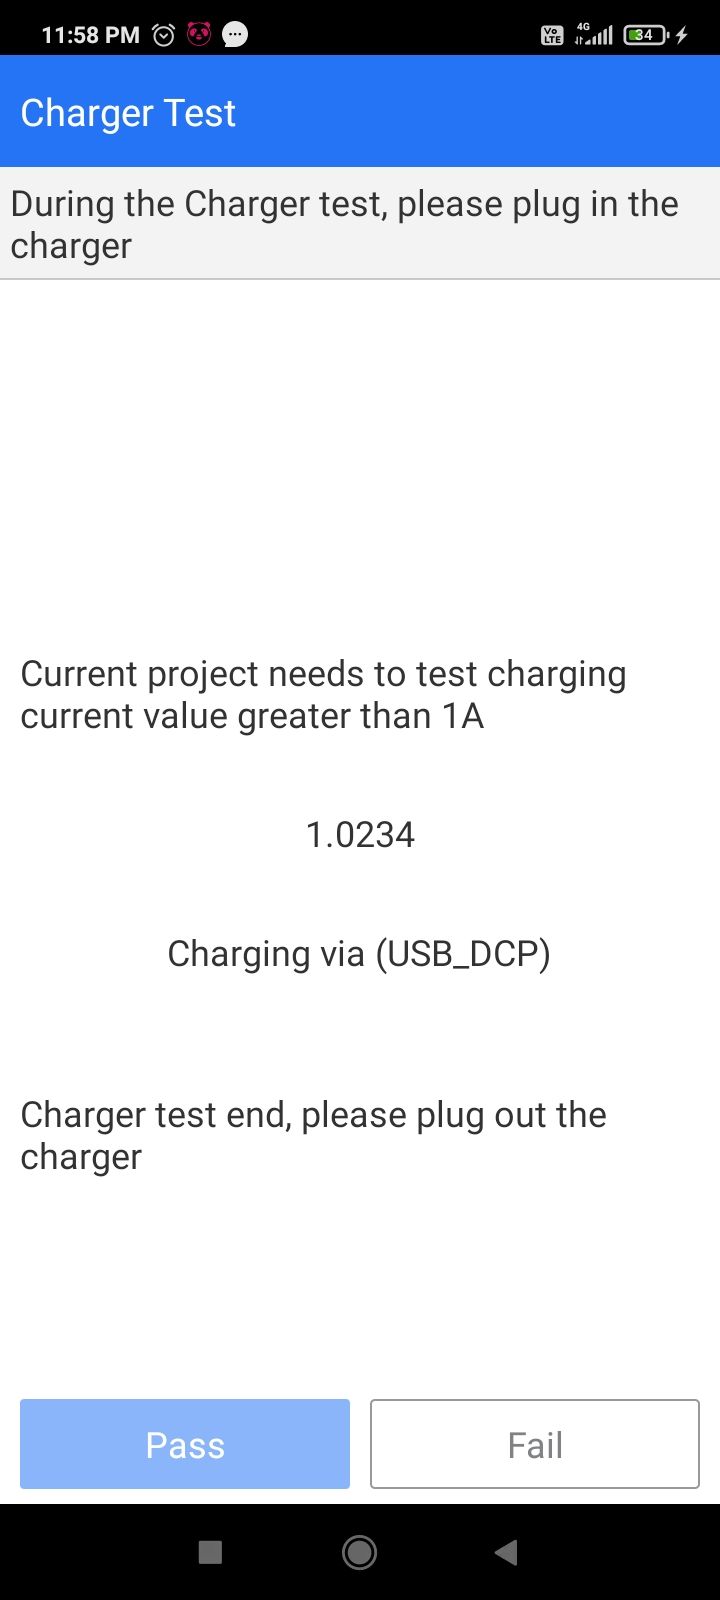
Close
If the current reading is below 1A, the cable itself might be faulty, so I recommend testing with a different cable just to make sure.
Test the Sensors
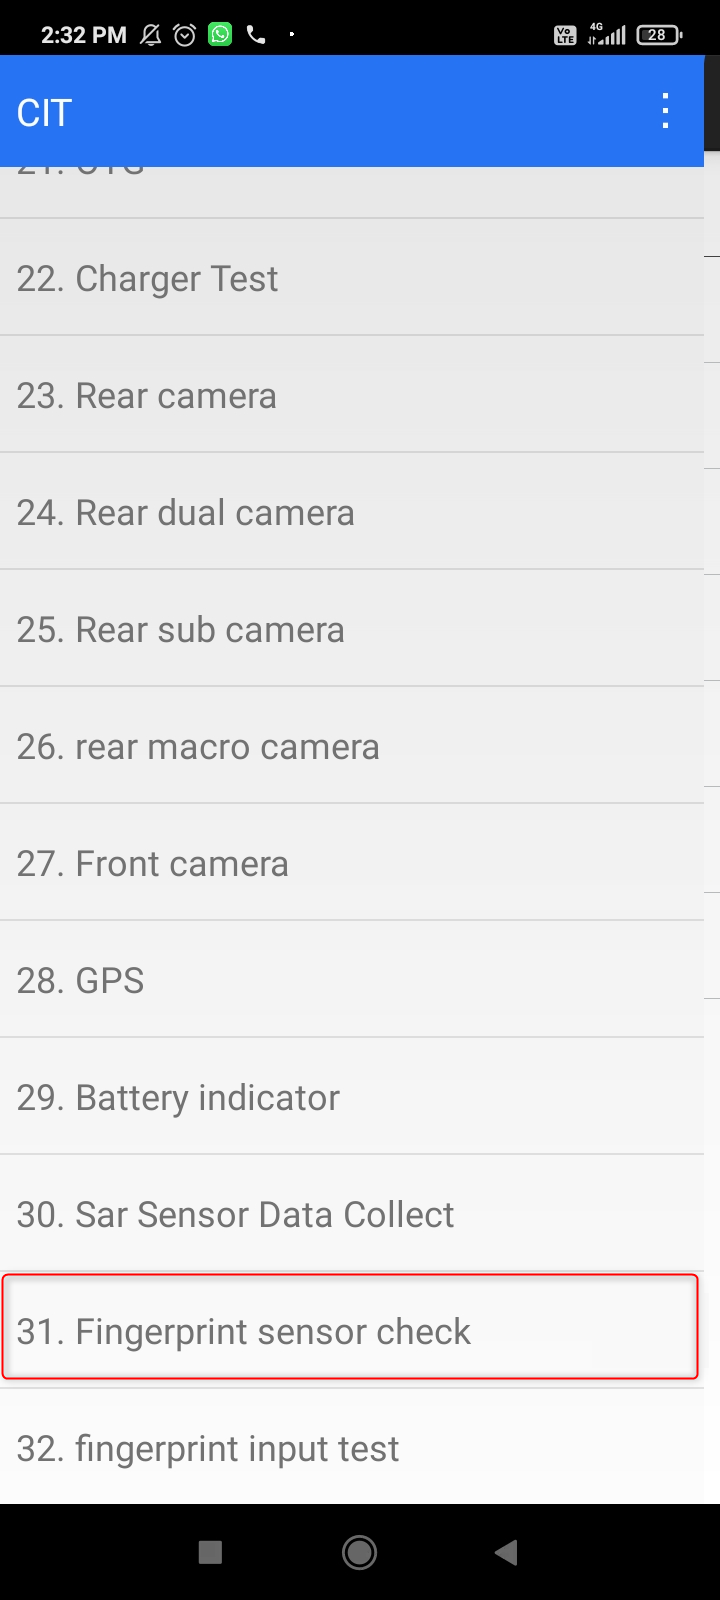
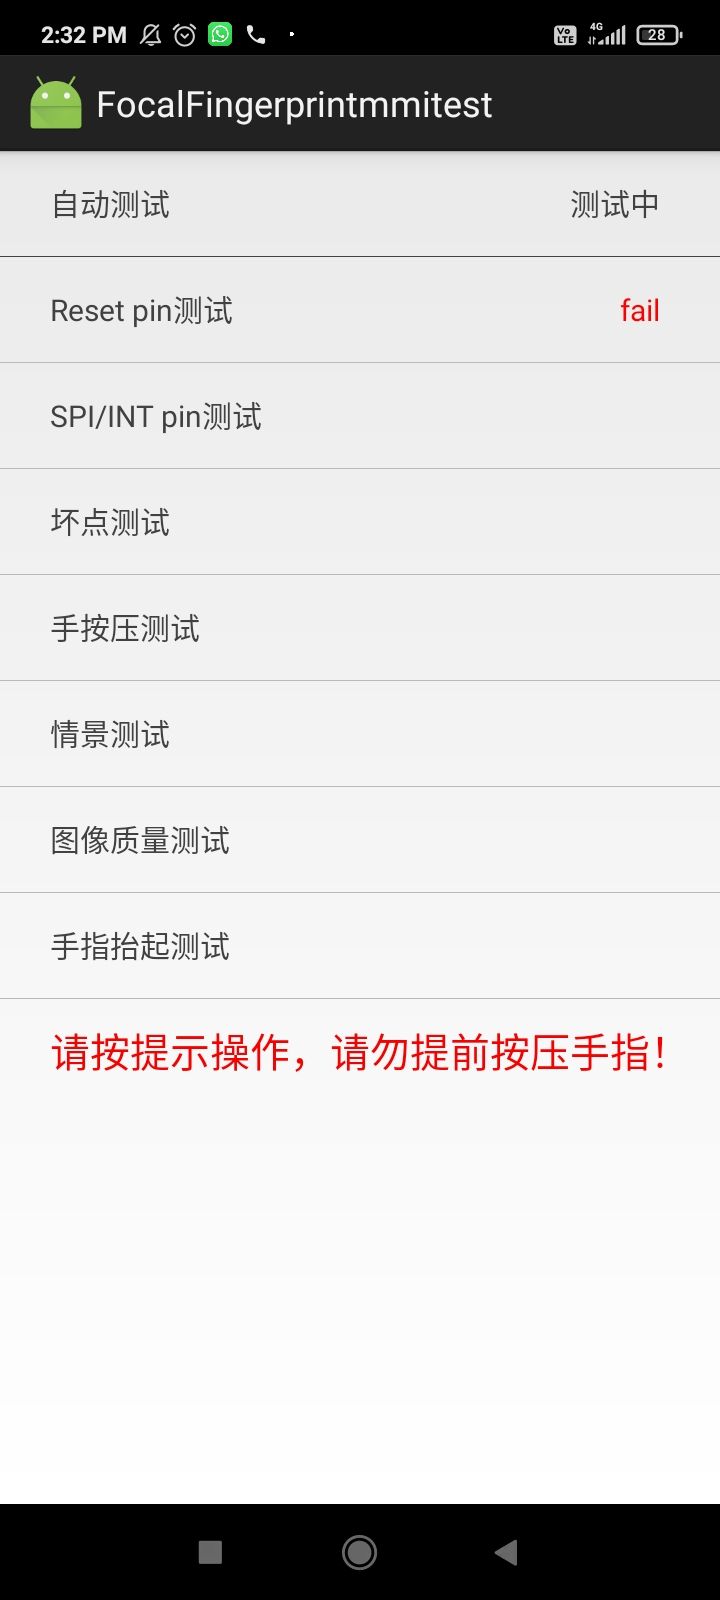
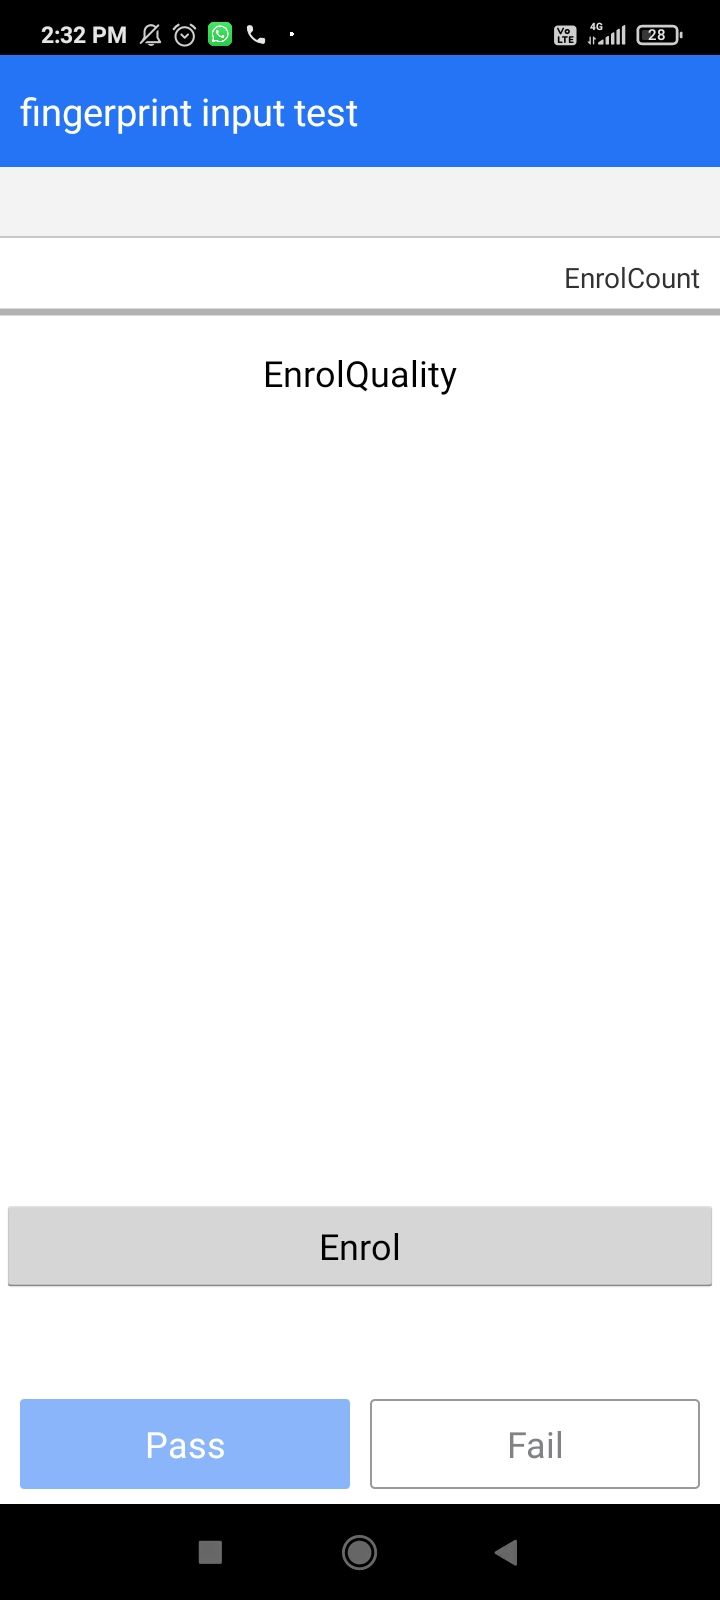
Testing the fingerprint scanner is pretty straightforward. Just tap the “Fingerprint Sensor Check” and check if it comes back green. This phone has a faulty fingerprint reader, which returns a red result. You can also tap “Fingerprint input test,” enroll your fingerprint, and test if it’s read correctly.
Close
Next up is the proximity sensor. Tap “Proximity Sensor,” cover the front of the phone with your hand and watch the value change. If it doesn’t change, the sensor is broken and it won’t turn off your screen when you pick up a call.

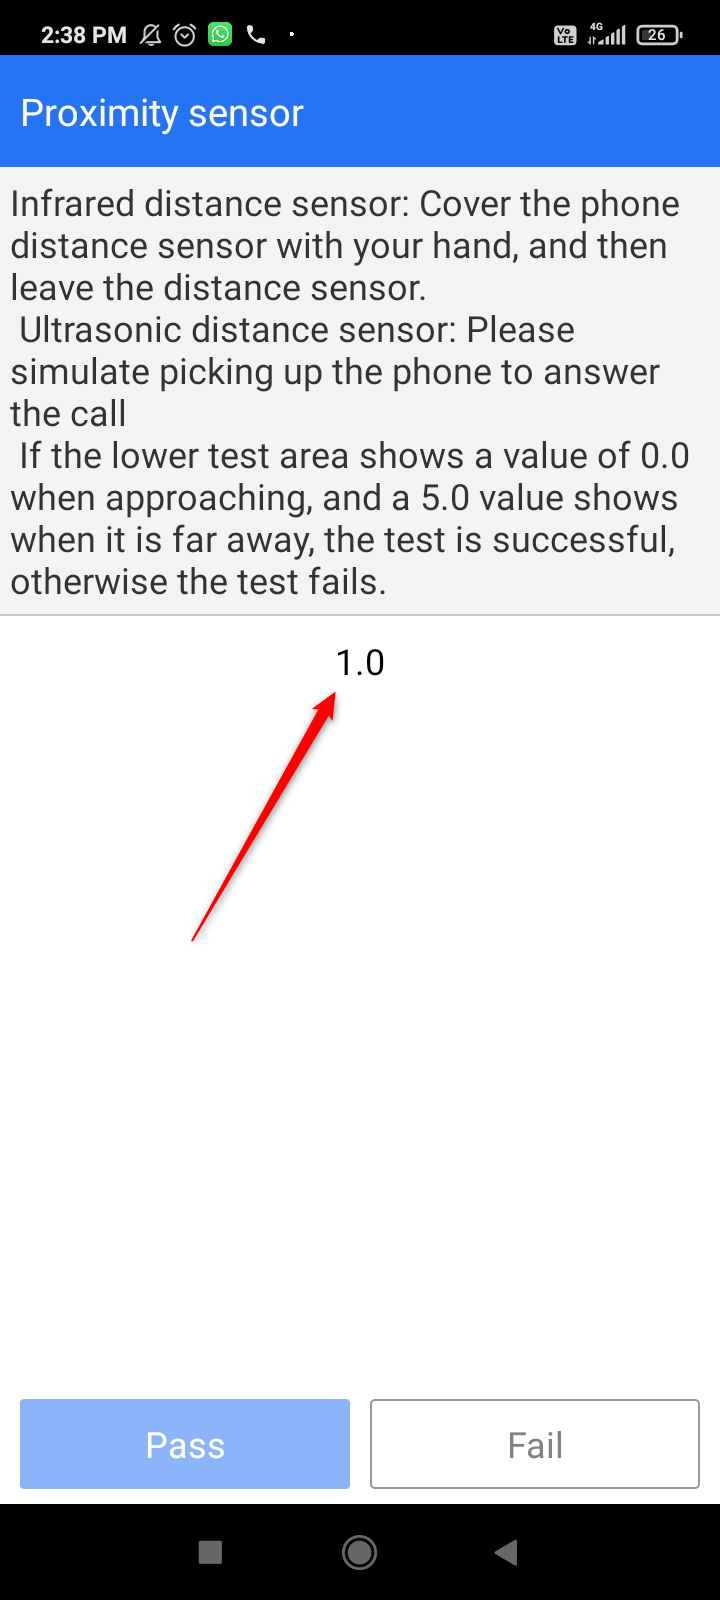
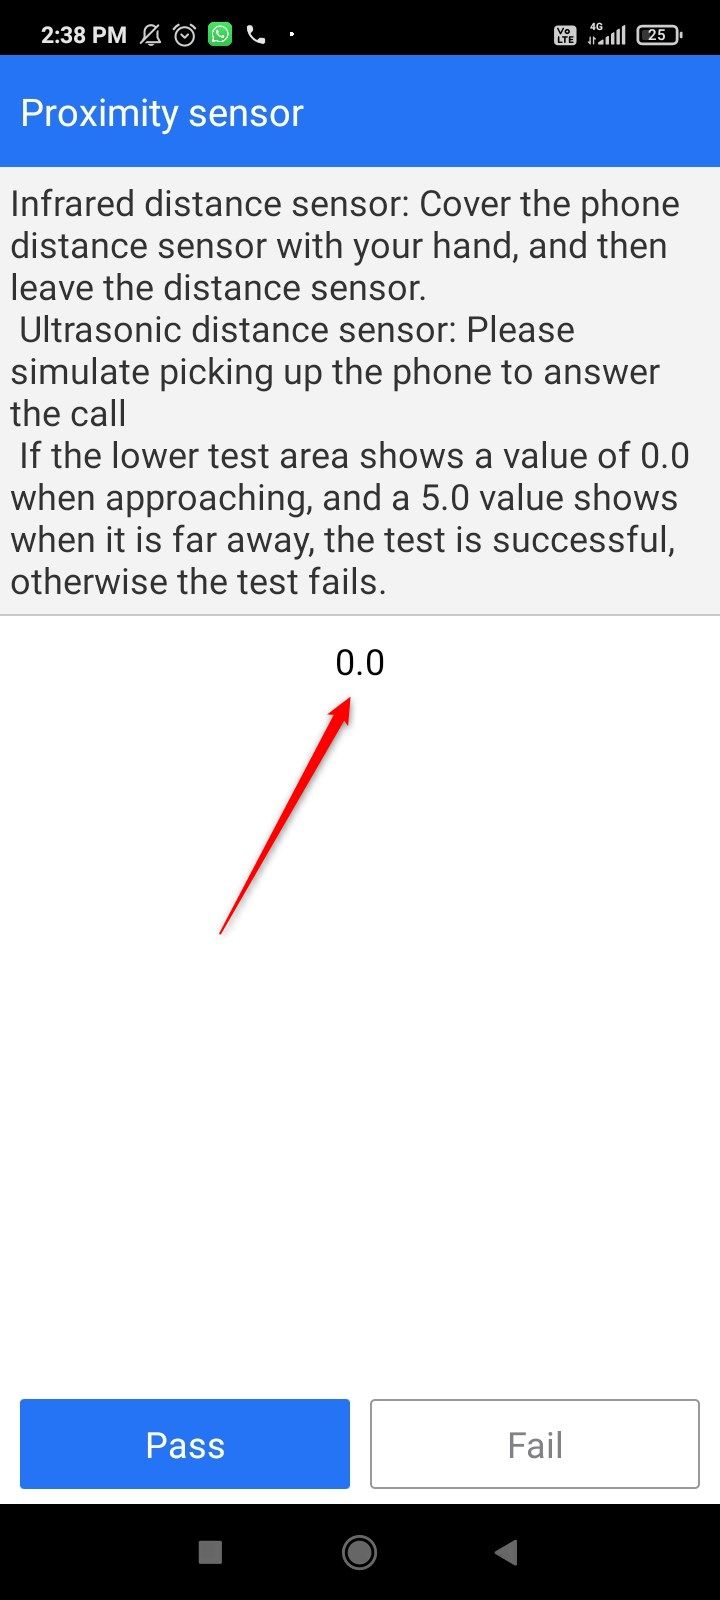
Close
To test the accelerometer , just tap “Accelerometer” and note if the readings are changing.
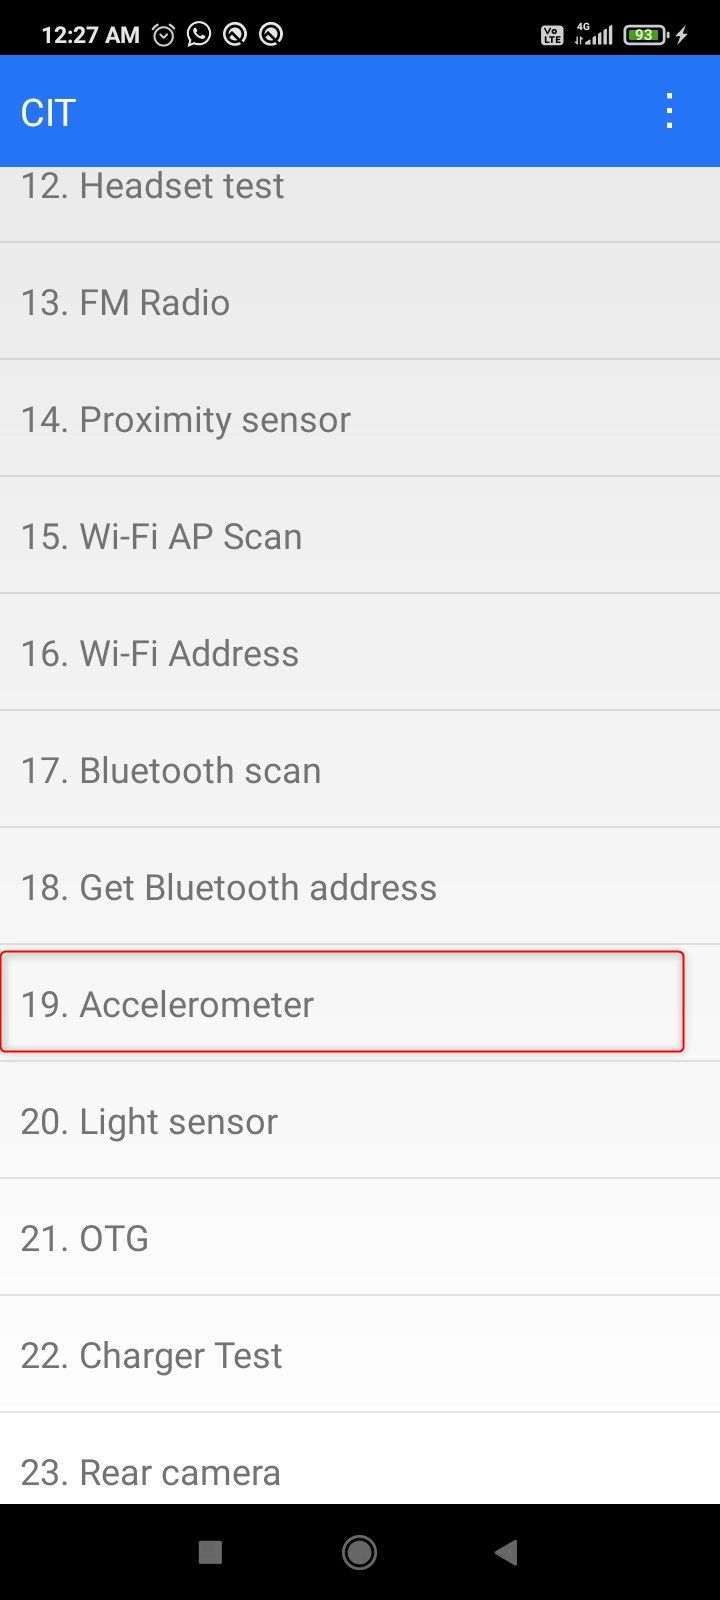

Close
The light sensor automatically controls your screen brightness. To test it, tap “Light Sensor,” bring the phone close to a source of light, and wait for the DAC value to change.

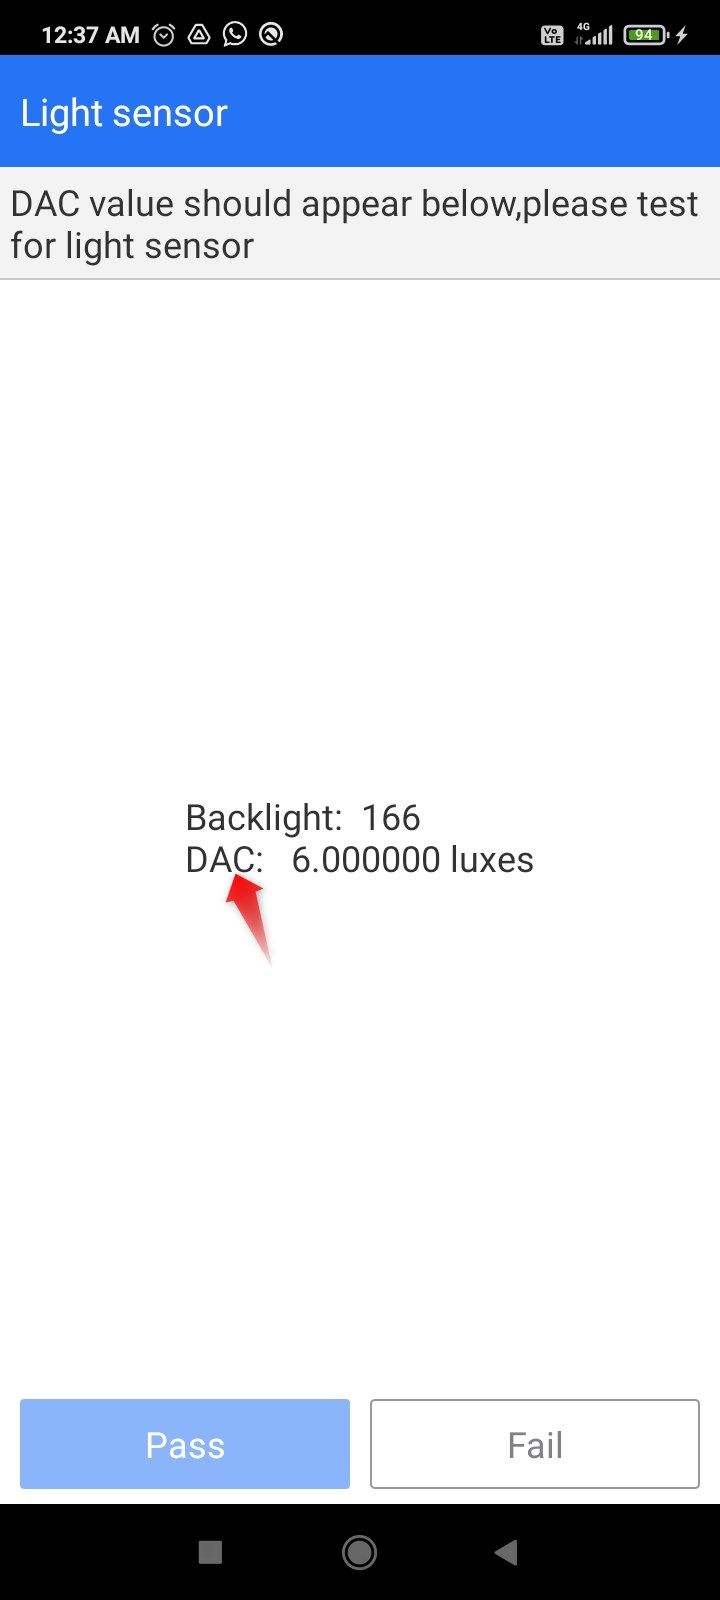
Close
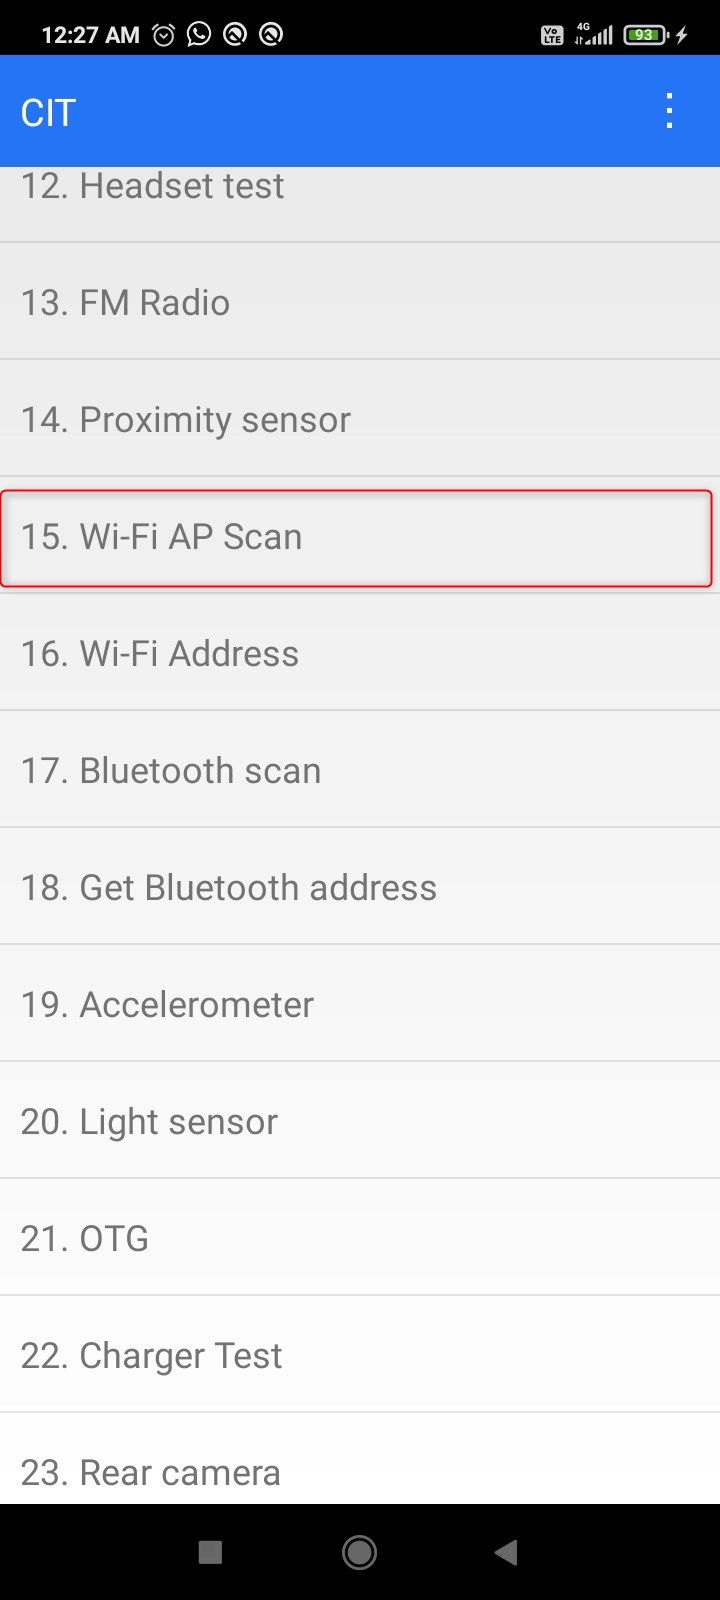
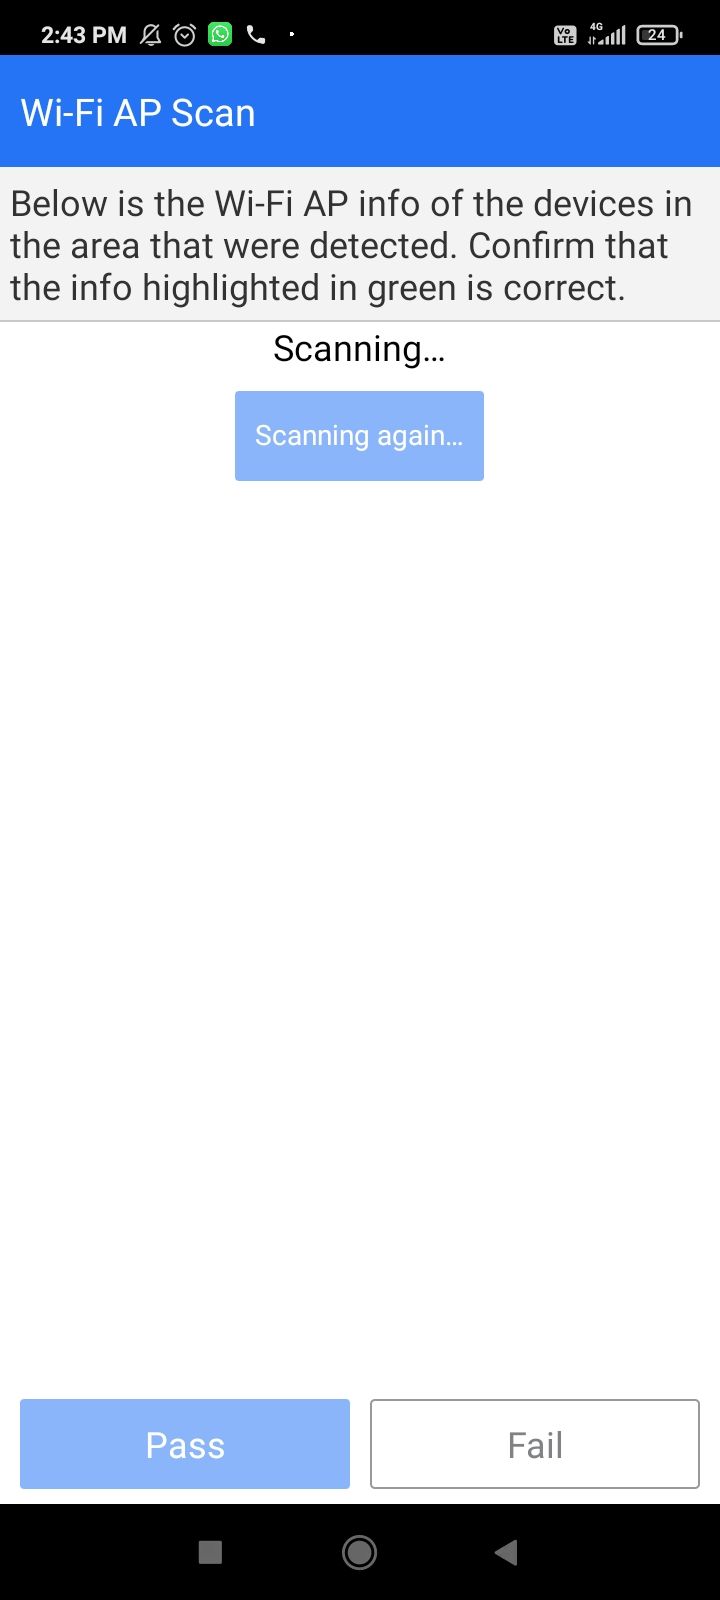
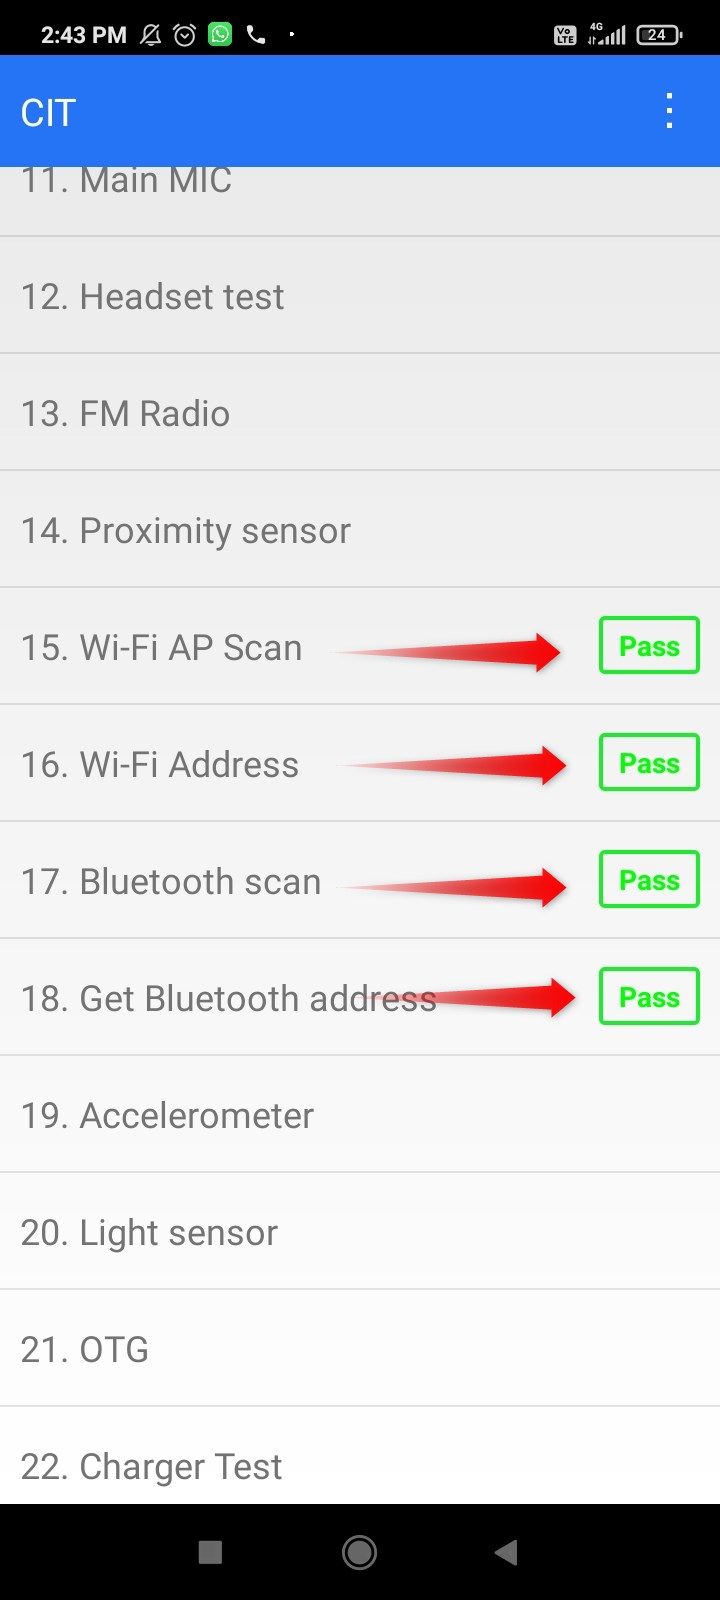
To test the Wi-Fi and Bluetooth, just tap Wi-Fi AP Scan, and it’ll automatically check the Wi-Fi and Bluetooth hardware. Ensure that you see four “Pass” tags on the Wi-Fi and Bluetooth menus.
Close
Test Battery Health
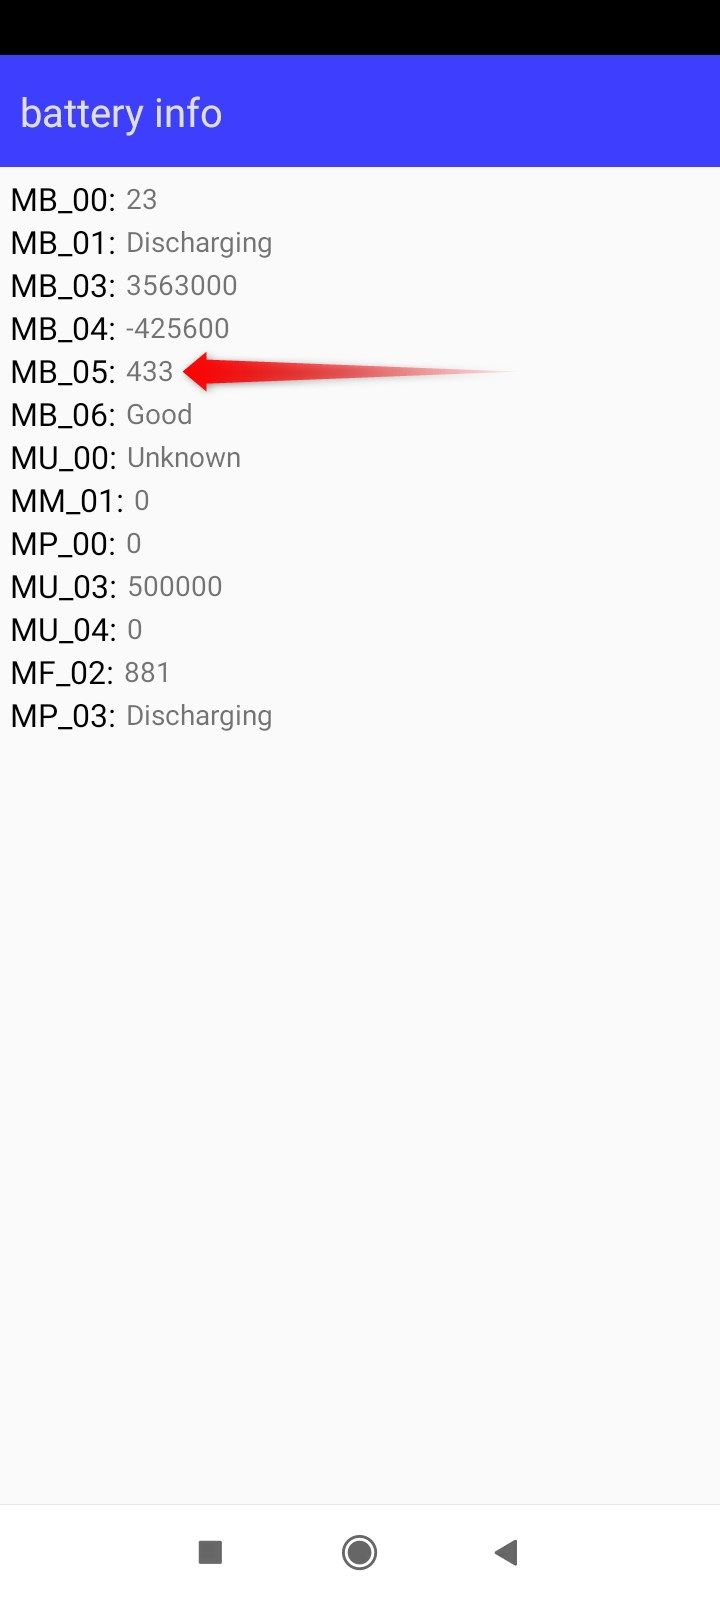
You’ll need a separate code to check the battery’s health. On Xiaomi, Redmi, and Poco devices, open the dialler app and type *#*#6485#*#*. Once again, you can search “battery health secret code + the phone’s brand name” to find the right code for the device you’re testing.

Close
Look for the reading in front of the MB_06 tag, which indicates battery health. It’ll read “Good,” “Excellent,” or “Poor.” Poor battery health means that the phone’s battery is at the end of its life cycle and needs replacing.
Also read:
- [Updated] 2024 Approved Essential Tips for Glow-in-the-Dark Portraiture
- [Updated] Discover the Richest Content for Maximum IG Revenue for 2024
- [Updated] In 2024, Becoming a Specialist in SRT Text Management
- [Updated] Master Image Security with Best Watermarks Software for 2024
- Bypass the Frustrating 'ITBM Driver Not Available' Message – Quick and Effective Fixes Inside!
- Expert Reviews: Ultimate Guide to the Best RAM Upgrades of 2023 for Professionals and Gamers
- Explore Cutting Edge Techniques in VivaCut Detailed Review & Guide 2024
- Explore Meta's Exceptional Offer: The 512GB Quest 3 Presents Unbeatable Value in Today's Virtual Reality Market - Insights From ZDNet
- Exploring Hardware with Tom's Technology Chronicles
- Game Enthusiasts' Guide to Early Black Friday Deals - October 2024 Special Discounts on ZDNET
- How Can You Transfer Files From Realme 10T 5G To iPhone 15/14/13? | Dr.fone
- Rugged Laptop Reviews : Withstands Dramatic Drop-Test at Waist Level!
- Score Big in Savings: Unlock $250 Off the Powerful Acer Nitro 5 for Gamers | Exclusive Offer at ZDNET
- The HP Copilot+ as a Game-Changer in Remote Work Success – Insights and Proof From ZDNet's Test Run
- The Unvarnished Truth About Dell's Latest Innovations in Their XPS Lineup | Expert Reviews at ZDNET
- Top 110 Unbeatable Christmas Offers on Tech Gadgets Including iPads, Televisions & Notebooks – Your Guide to Savings with ZDNet
- Unplugging Troubles: Stay Aware of Power Save Mode
- Title: Insider Techniques: Master Code Tests for Evaluating Secondhand Android Smartphones
- Author: Richard
- Created at : 2024-12-16 23:03:00
- Updated at : 2024-12-21 19:53:05
- Link: https://hardware-updates.techidaily.com/insider-techniques-master-code-tests-for-evaluating-secondhand-android-smartphones/
- License: This work is licensed under CC BY-NC-SA 4.0.