Maximize Your Smart Home with Key Home Assistant Extensions – Don't Skip Them!

Maximize Your Smart Home with Key Home Assistant Extensions – Don’t Skip Them!
Quick Links
- HACS (Home Assistant Community Store)
- Node-RED
- Grafana
- ESPHome
- Mosquitto Broker
- Let’s Encrypt
- Samba Share
Home Assistant is a powerful open-source smart home platform out of the box, but it gets even better with the right add-ons. Here are several essential Home Assistant add-ons that will help you level up your smart home, and how to get started with using them.
1 HACS (Home Assistant Community Store)
HACS (Home Assistant Community Store) is a game-changer for Home Assistant enthusiasts. This community-driven store offers a vast repository of custom Home Assistant integrations, plugins, and themes that can be easily installed on your Home Assistant system. With this add-on, you can unlock a world of possibilities in Home Assistant.
HACS enables you to browse and install new integrations with ease, keeping you informed about the latest updates and releases. Whether you’re a seasoned power user or new to the platform, HACS is an essential add-on for maximizing your Home Assistant setup.
HACS requires a GitHub account, and you must put Home Assistant into Advanced mode (found under your profile by clicking your login name at the bottom of the screen).
Install HACS
To install HACS, select the “Settings” button in the bottom-left corner of the Home Assistant dashboard. Next, choose Add-ons > Add-on store. Then, install the “Terminal & SSH” add-on into your Home Assistant setup by clicking the “Install” button.
After installing, select “Show in sidebar”, and then select the “Start” button to gain terminal and SSH access to your Home Assistant setup. From here, you need to run the HACS installation script to access it on your setup. Run the following command:
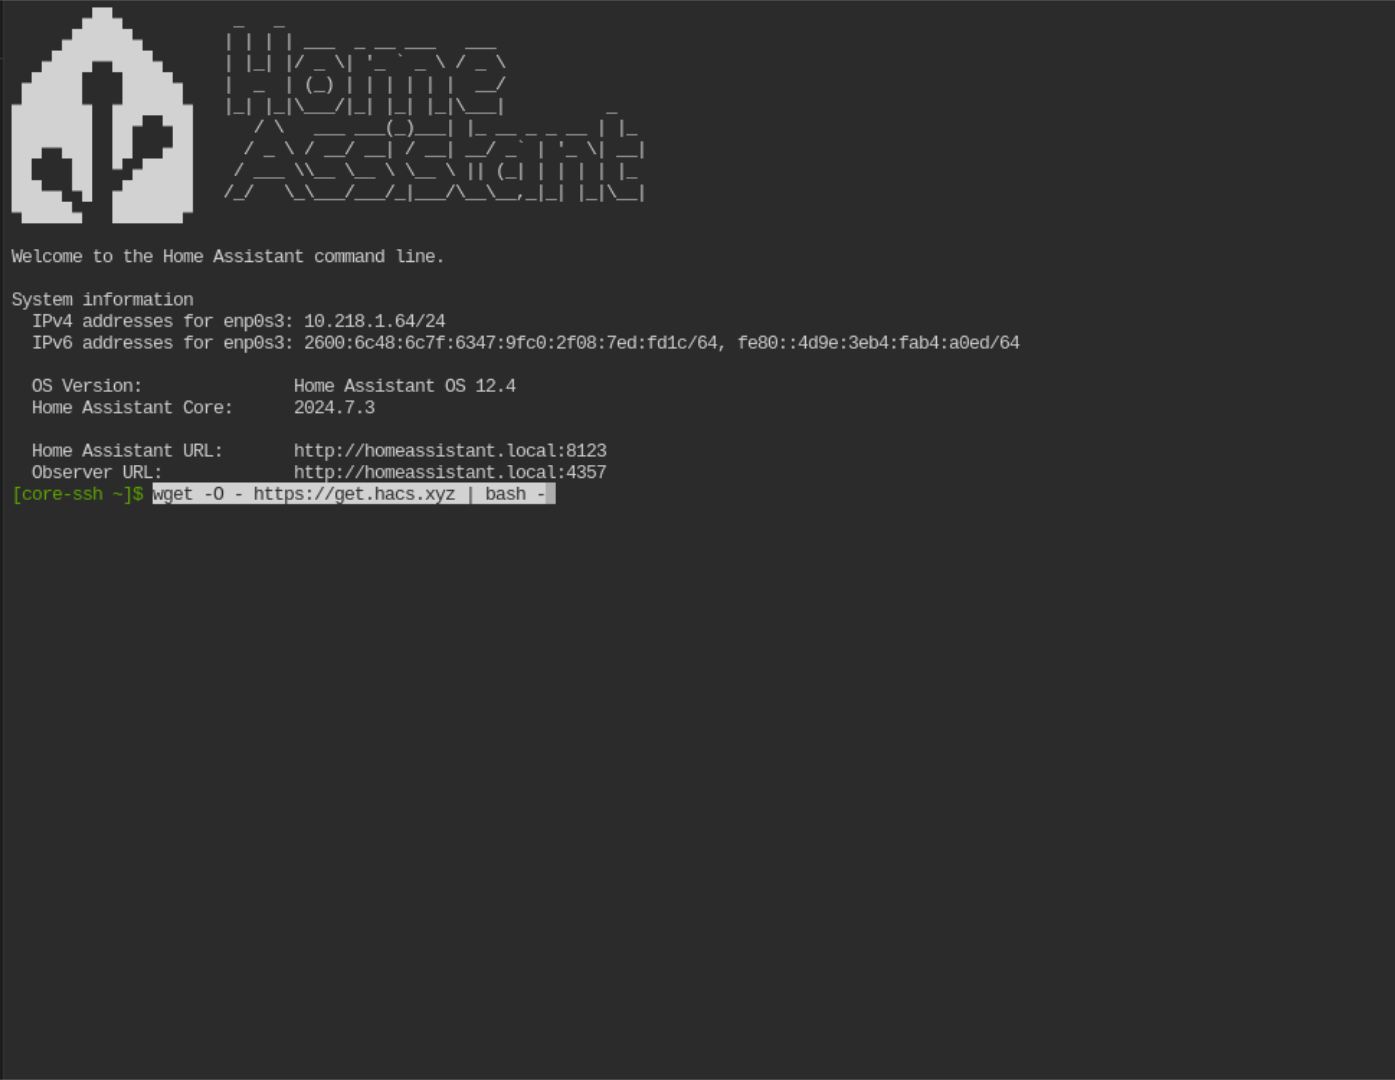
wget -O - https://get.hacs.xyz | bash -
The script runs quickly. Once it’s complete, reboot your Home Assistant setup. You can quickly reboot your setup directly from the terminal with the following command:
reboot
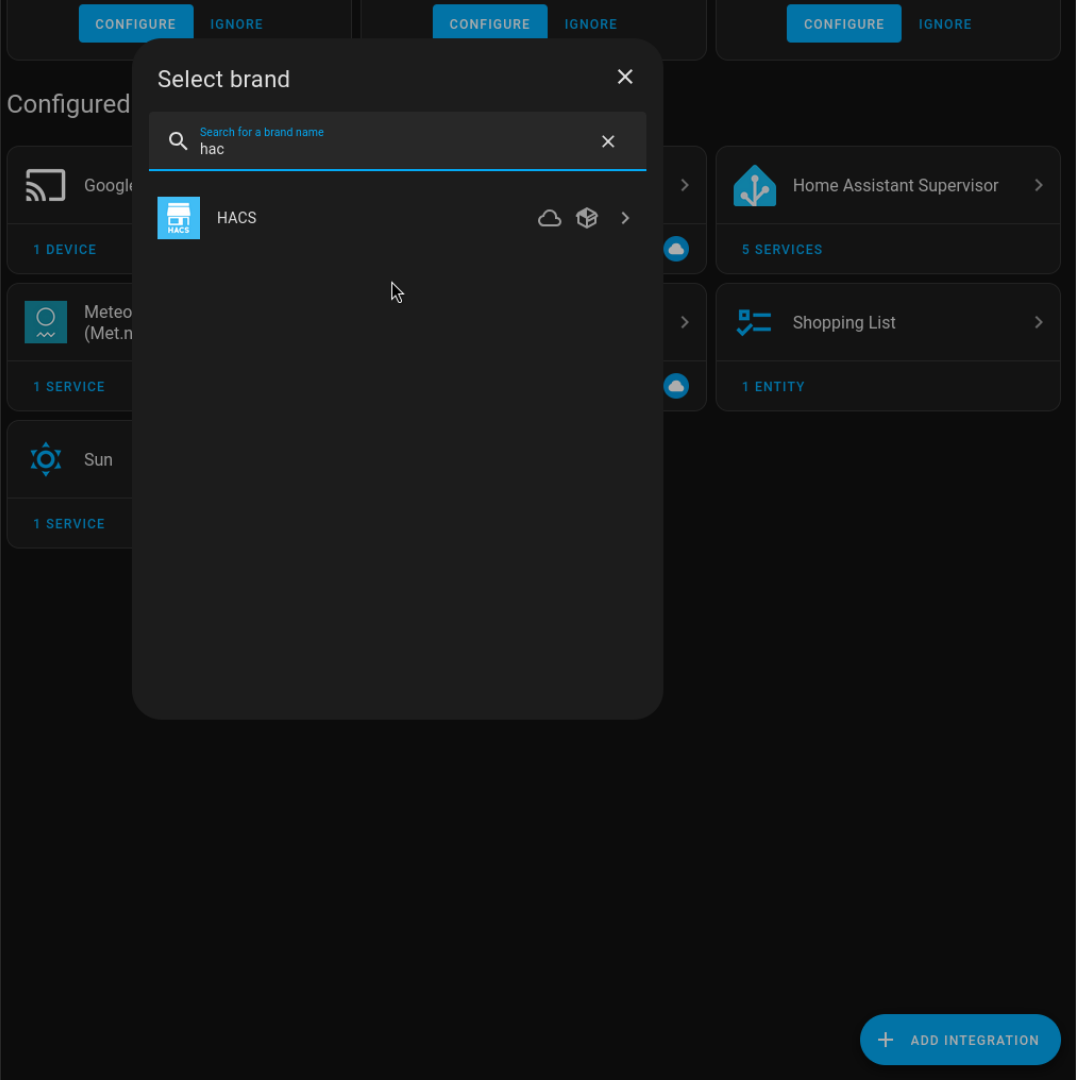
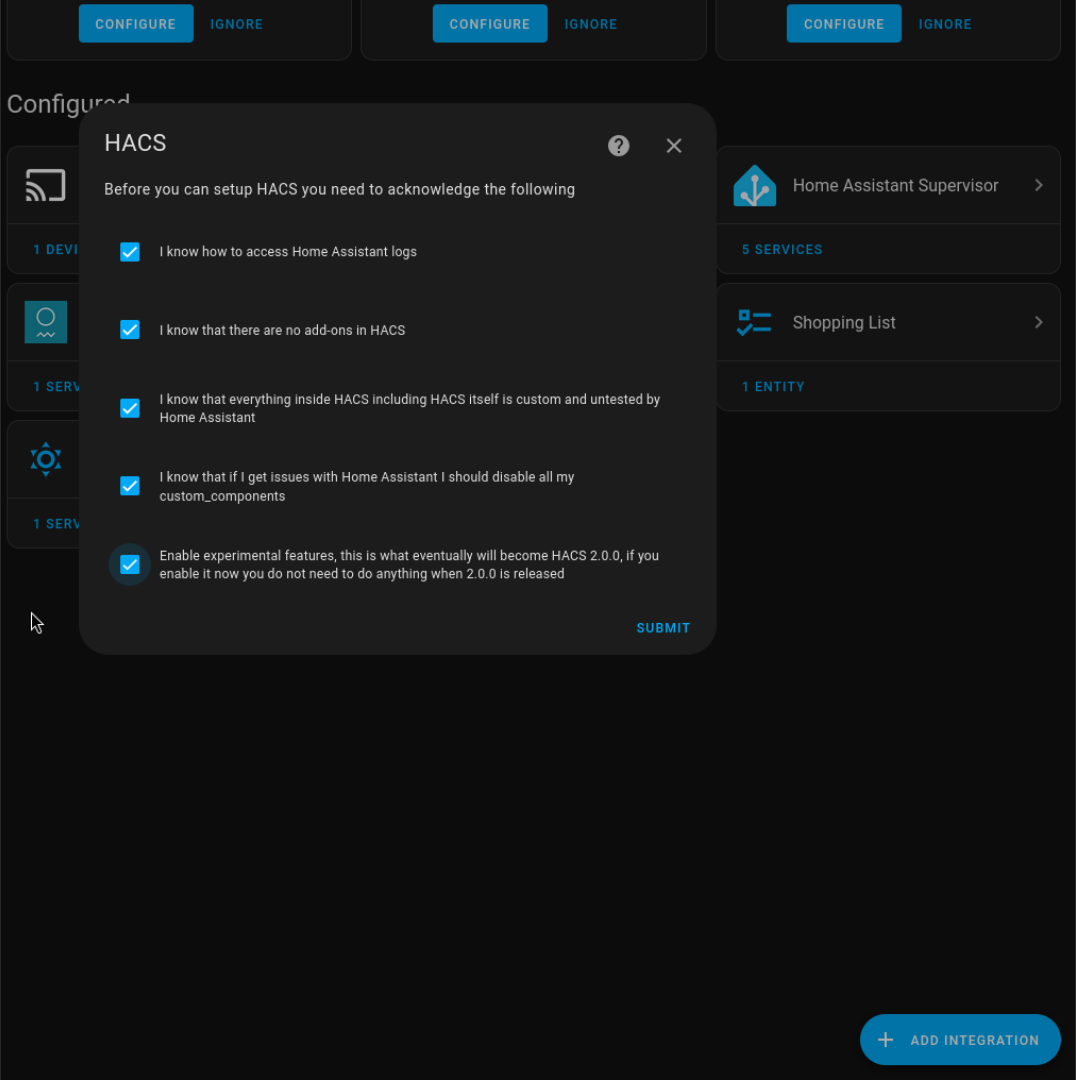
With Home Assistant rebooted, clear your browser cache. Then, select “Settings > Devices & services. Click the “Add Integration” button, and search for “HACS.” Check all the boxes, and select “Submit”. Follow the on-page instructions to connect HACS to your GitHub account. Once connected, HACS will appear in the sidebar.
2 Node-RED
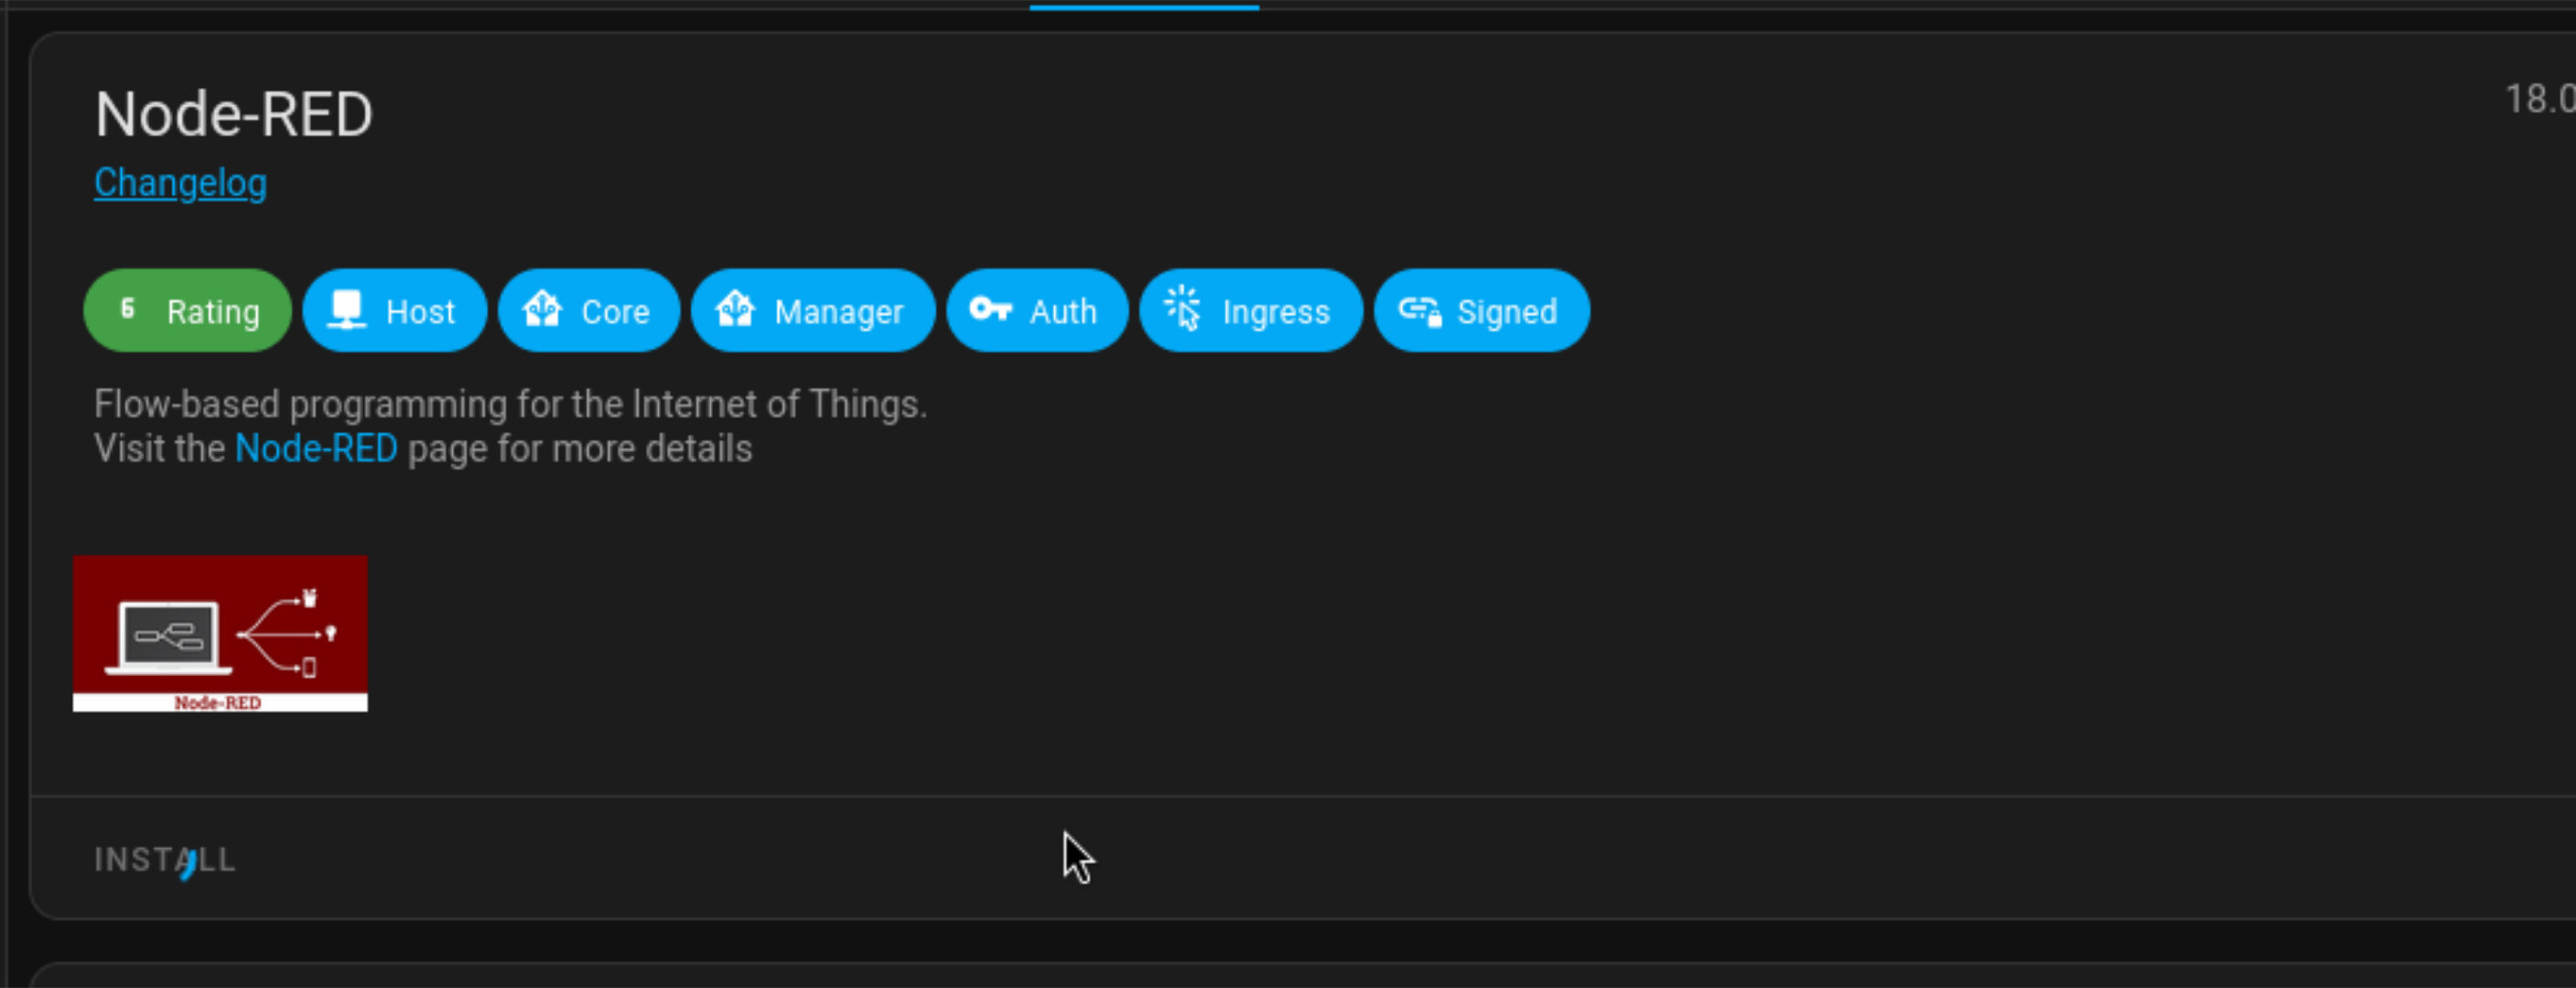
Node-RED is a visual programming tool that allows you to create complex automations in Home Assistant without needing to be an expert. Node-RED gives you an elegant drag-and-drop interface to create custom interfaces with no scripting or programming code knowledge. This add-on is perfect if you want to get the most out of your Home Assistant, but don’t fancy writing long and complex automations by hand.
For example, you can use Node-RED to create a custom “goodnight” scene that locks your doors, turns off the lights, and sets your thermostat with a single button. By dragging and dropping nodes, you can create many workflows like this, making it easy to automate your home to your exact needs.
Install Node-RED
To install, open the Home Assistant web interface. Go to Settings, then Add-ons, and search for “Node-RED”. Click on the result and click “Install” to install the add-on.
3 Grafana
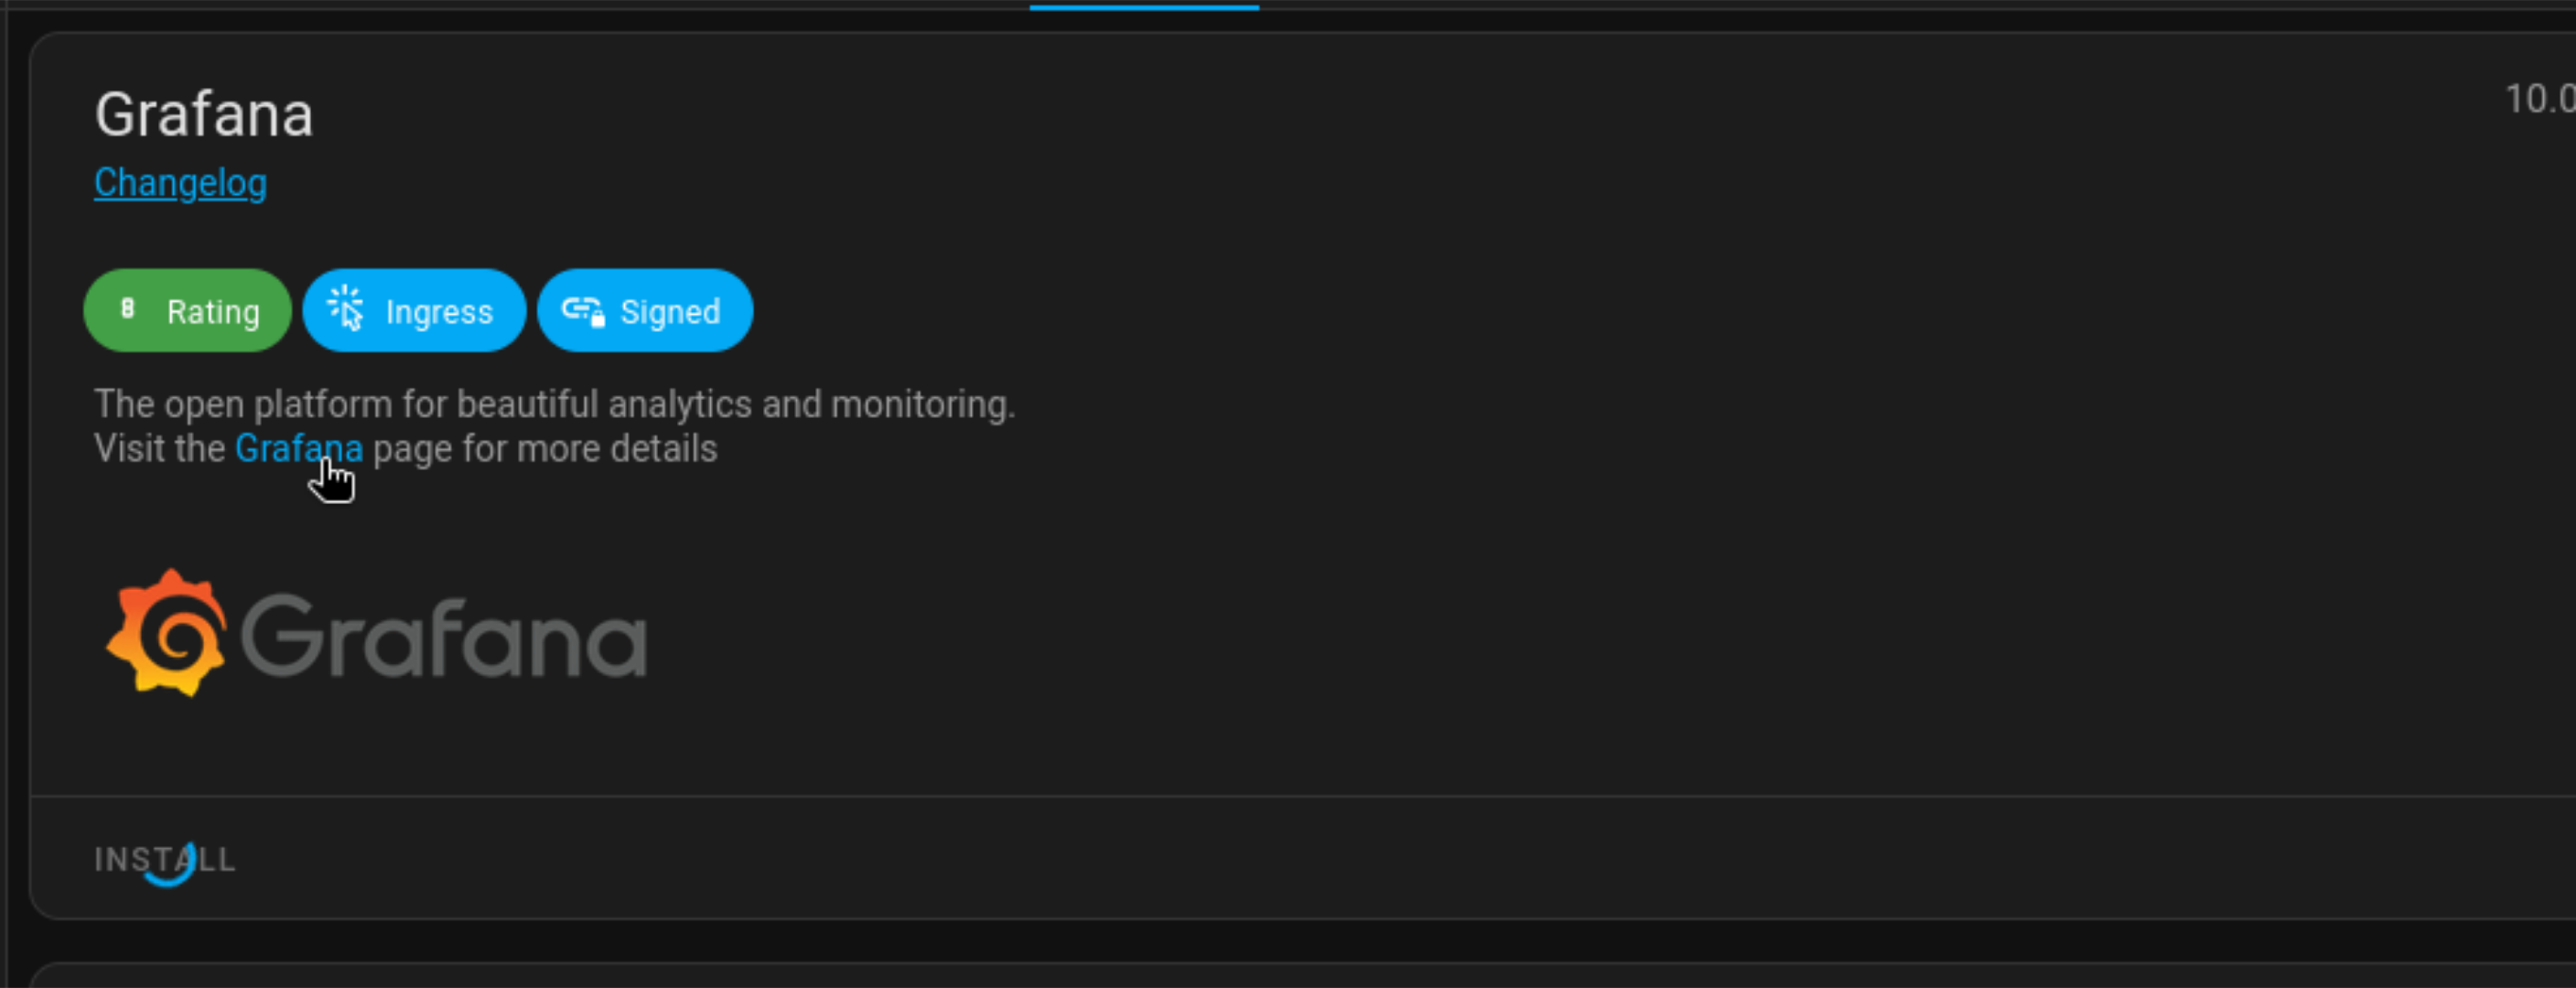
Grafana is a data visualization tool that enables you to create custom dashboards and charts to monitor and analyze your smart home data. Integrating this into Home Assistant allows you to create intuitive dashboards that track your energy consumption, temperature, and other sensor data.
One of the benefits of integrating Grafana into Home Assistant is the ability to combine data from multiple sources into a single, unified dashboard. This allows you to aggregate data from different devices and systems, providing a more comprehensive understanding of your smart home’s performance. For example, you could track how changes in outdoor temperature affect your energy consumption or monitor how different variables impact your home’s efficiency.
Install Grafana
To install, open the Home Assistant web interface. Navigate to Settings, then Add-ons, and search for “Grafana”. Click on the result and select “Install” to add the add-on.
4 ESPHome
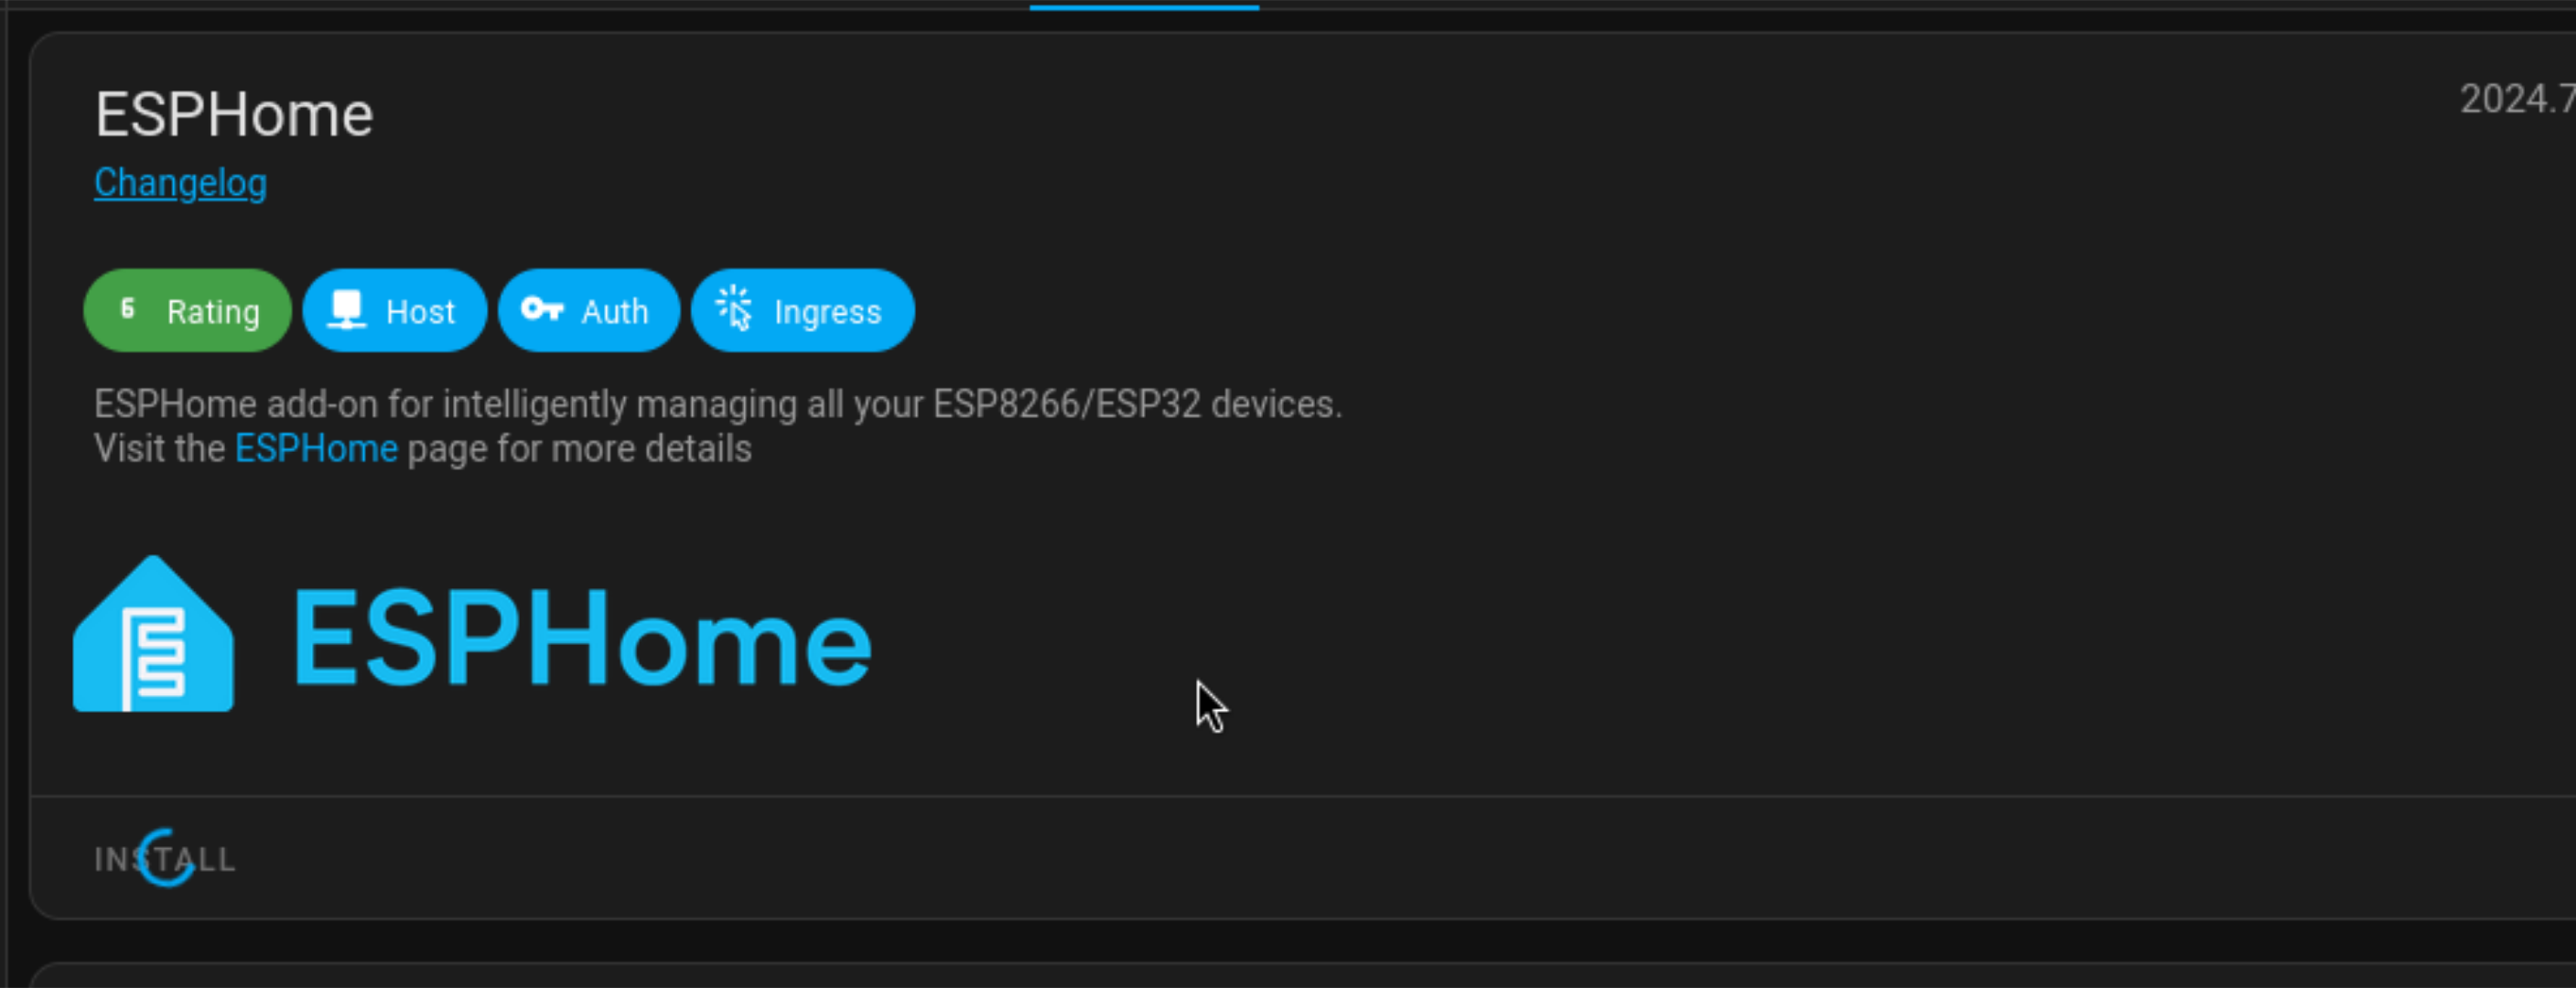
ESPHome is a firmware for ESP-based microcontrollers that integrates seamlessly with Home Assistant. With ESPHome, you can create customized firmware for your ESP devices, eliminating the need for third-party services. This gives you complete control over these devices, ensuring enhanced security and reliability.
ESPHome is very flexible. You can use it to create various devices, from simple sensors to complex automated systems. It also offers a wide range of customization, allowing you to tailor your devices to meet your specific needs.
Install ESPHome
To install, open the Home Assistant web interface. Go to Settings, then Add-ons, and search for “ESPHome”. Select the add-on and click “Install” to install ESPHome to Home Assistant.
5 Mosquitto Broker
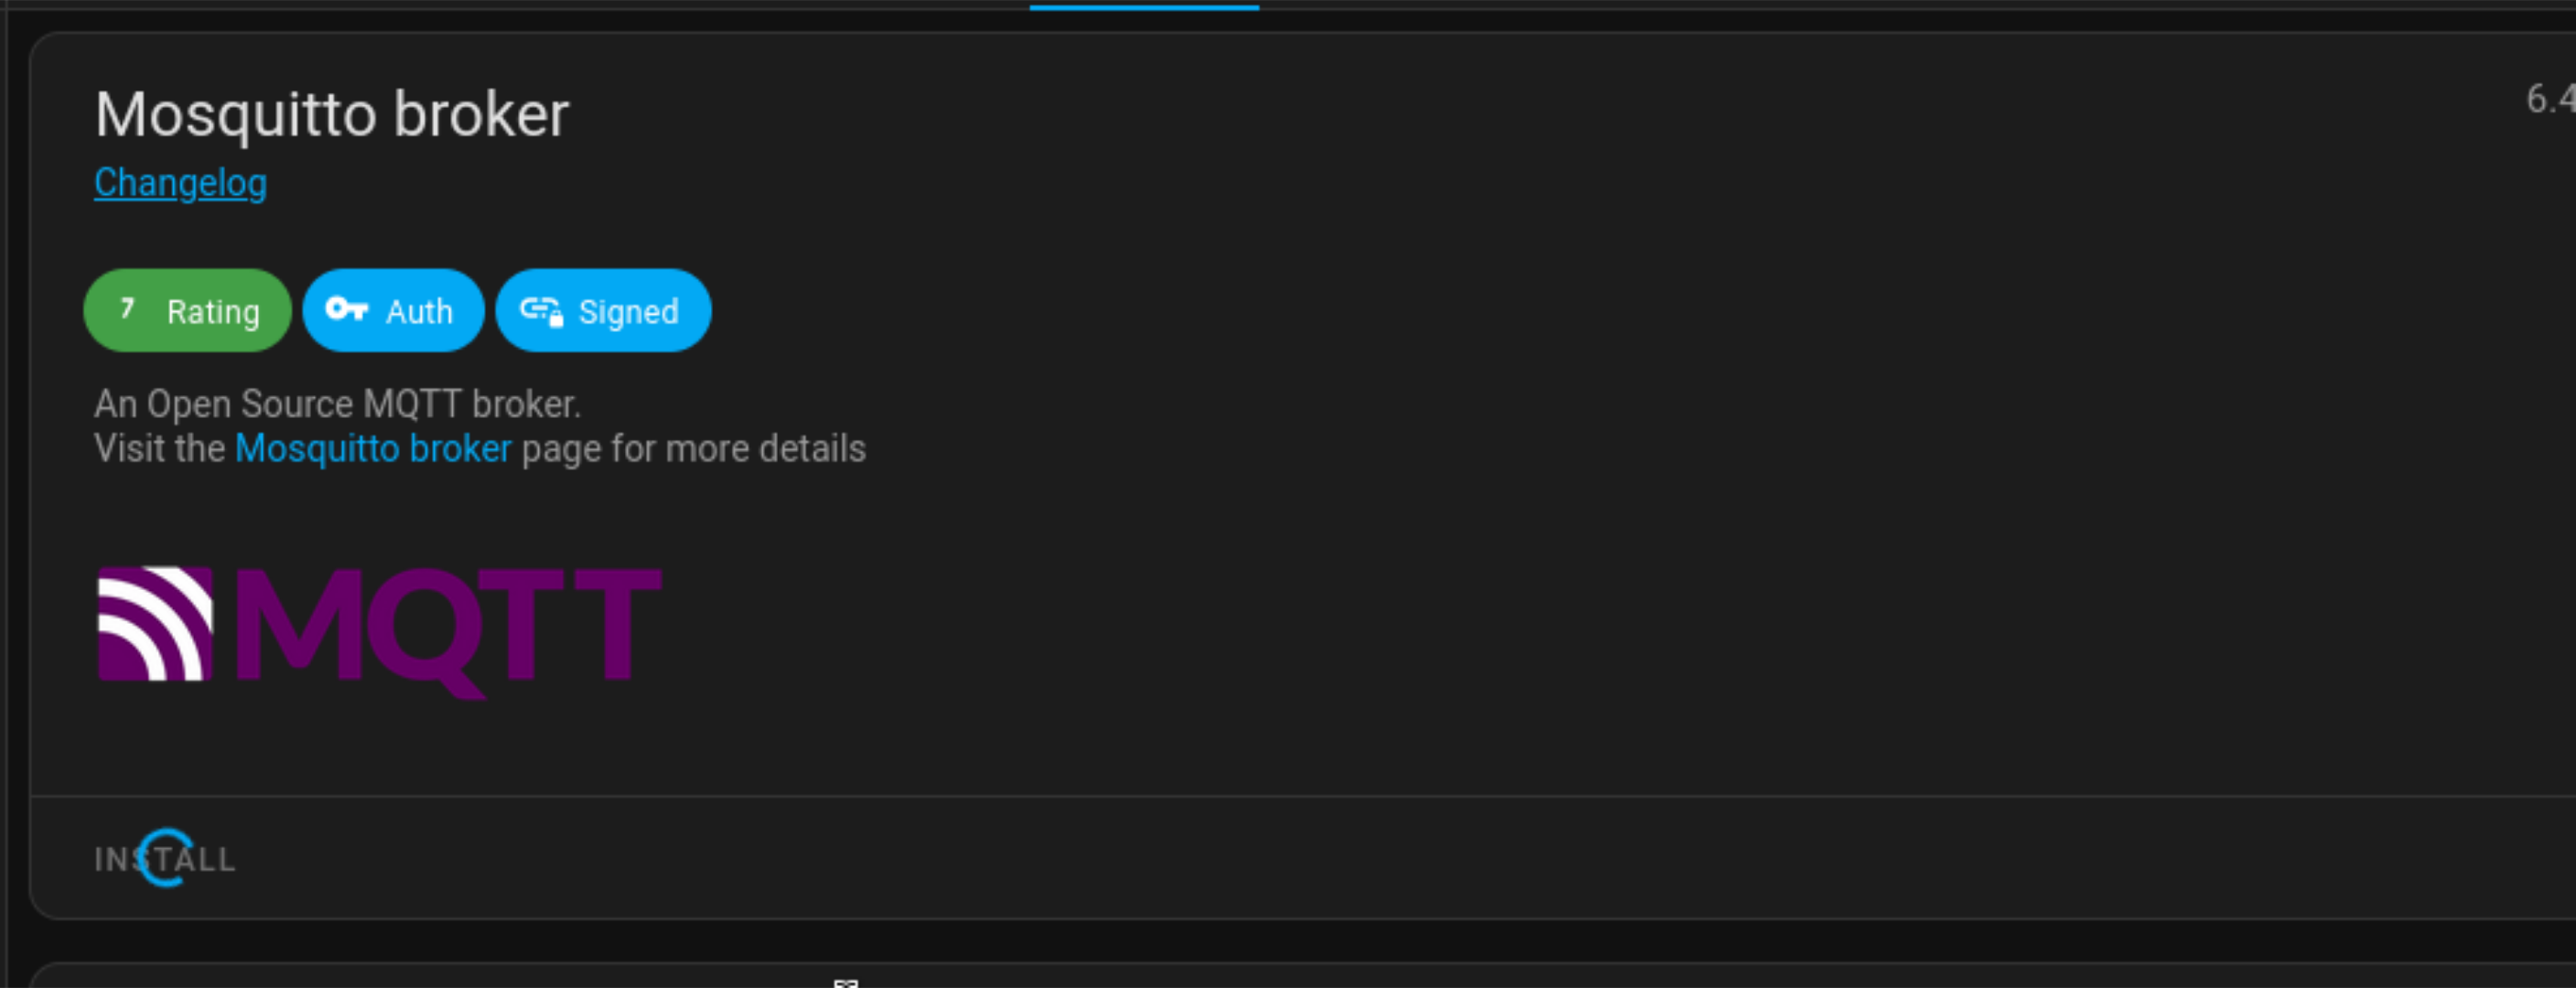
MQTT (Message Queuing Telemetry Transport) is a lightweight messaging protocol that enables efficient communication between smart devices. In a Home Assistant setup, an MQTT broker acts as a central hub, facilitating communication between devices.
Using Mosquitto Broker allows devices to send and receive messages independently, without being blocked by other devices on your Home Assistant setup. This makes it easier to add or remove devices from your setup without disrupting the entire system.
Install Mosquitto Broker
To install, open the Home Assistant web interface. Go to Settings, then Add-ons. Search for “Mosquitto Broker” and click on it. Click “Install” to install the add-on on your Home Assistant setup.
6 Let’s Encrypt
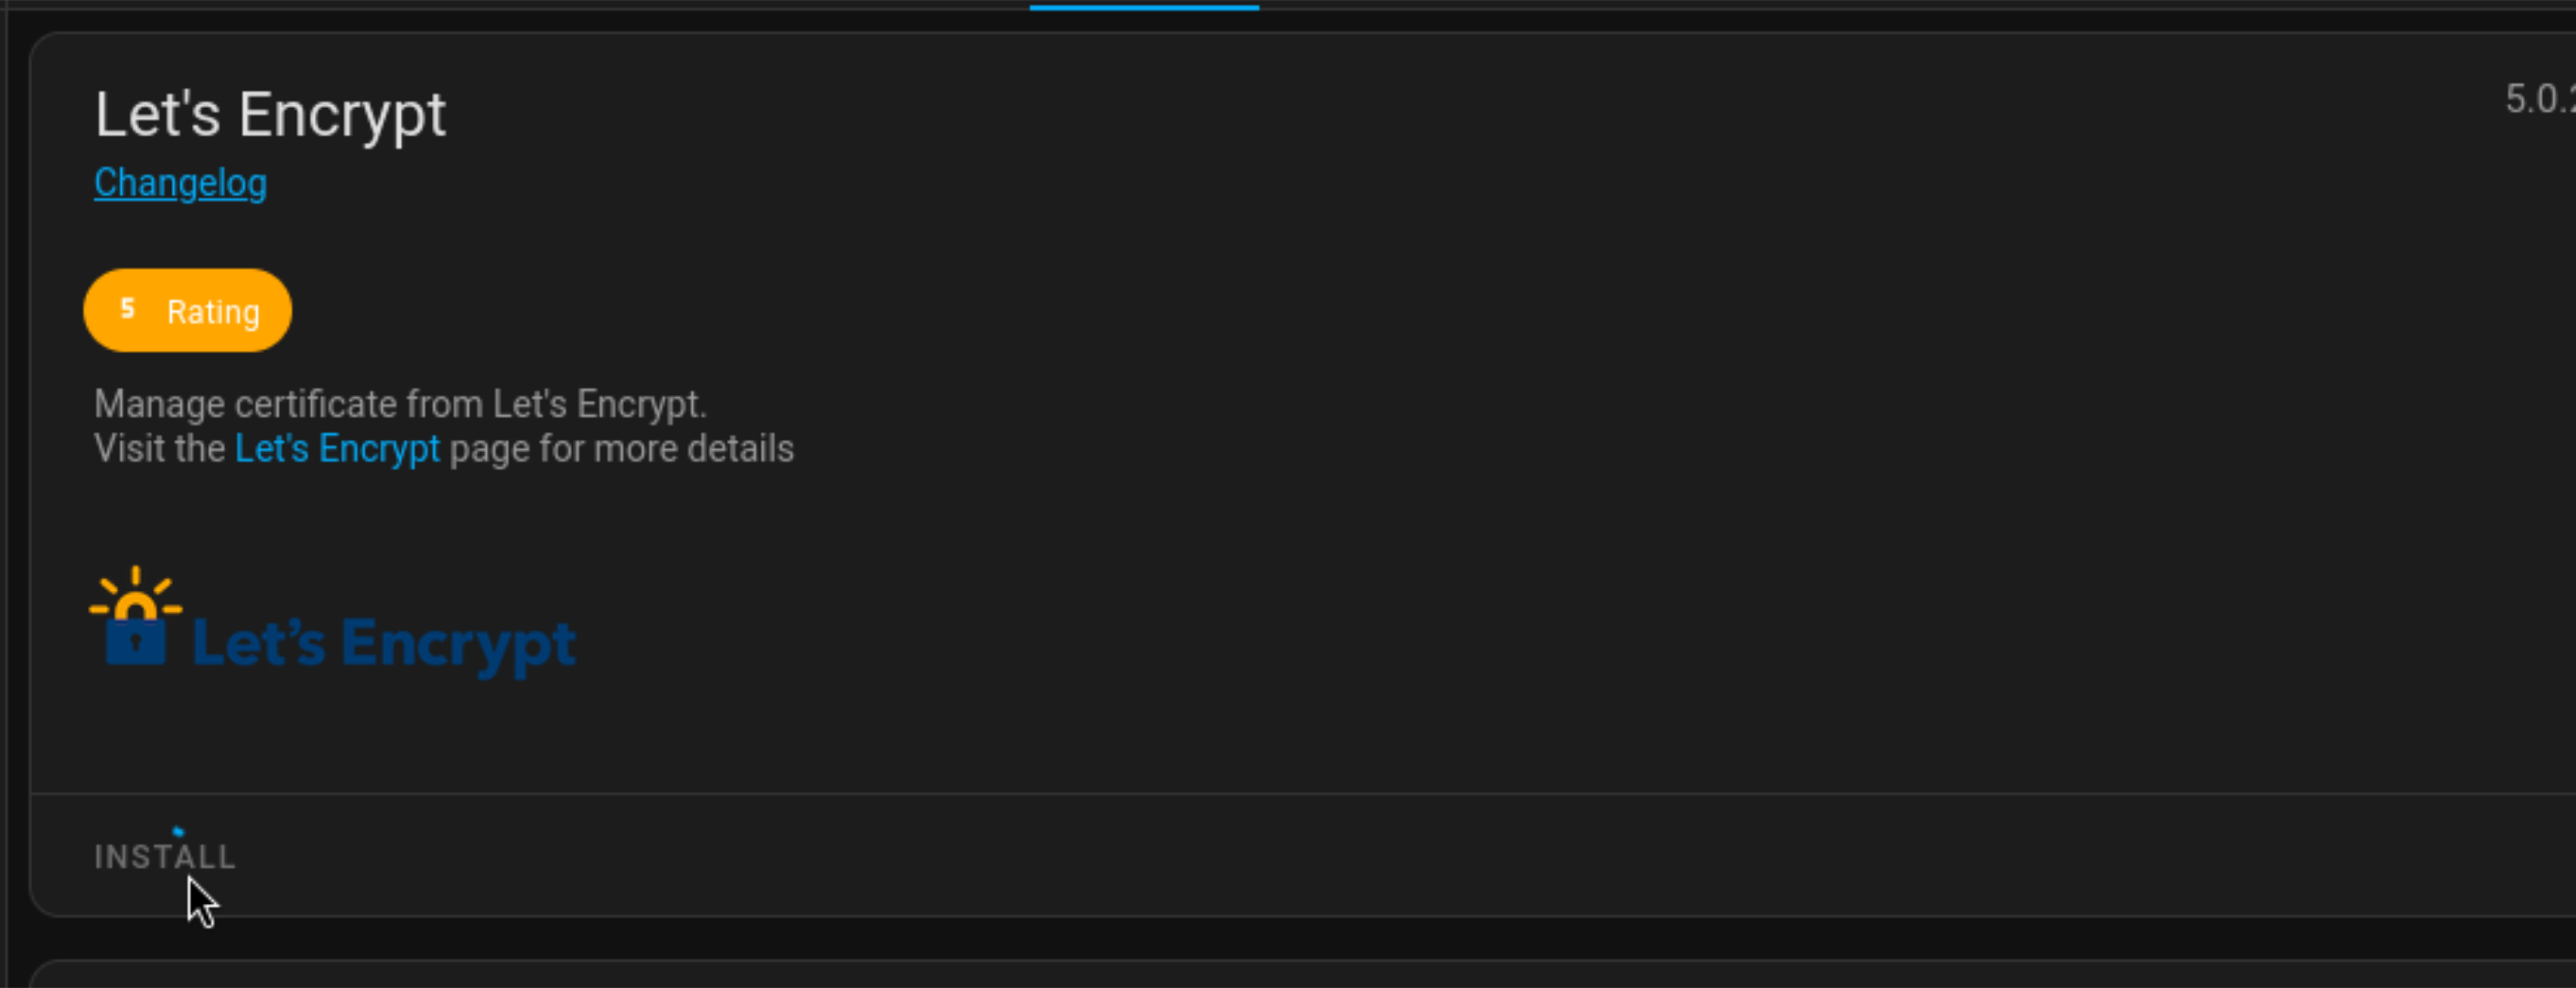
Let’s Encrypt is a free, open SSL certificate authority. It exists to make getting SSL certificates for devices easy. The Let’s Encrypt add-on for Home Assistant allows you to more easily integrate SSL/TLS encryption so that your data stays protected from eavesdroppers and tamperers.
One of the best things about the Let’s Encrypt add-on is that it automates getting and renewing SSL certificates. This means you won’t ever have to worry about configuring certificates or keeping track of expiring ones. With this add-on, you can ensure that your Home Assistant system is always secure.
Install Let’s Encrypt
To install, open the Home Assistant web interface. Go to Settings, then Add-ons. Search for “Let’s Encrypt” and click on it. Click “Install” to install the add-on to Home Assistant.
7 Samba Share
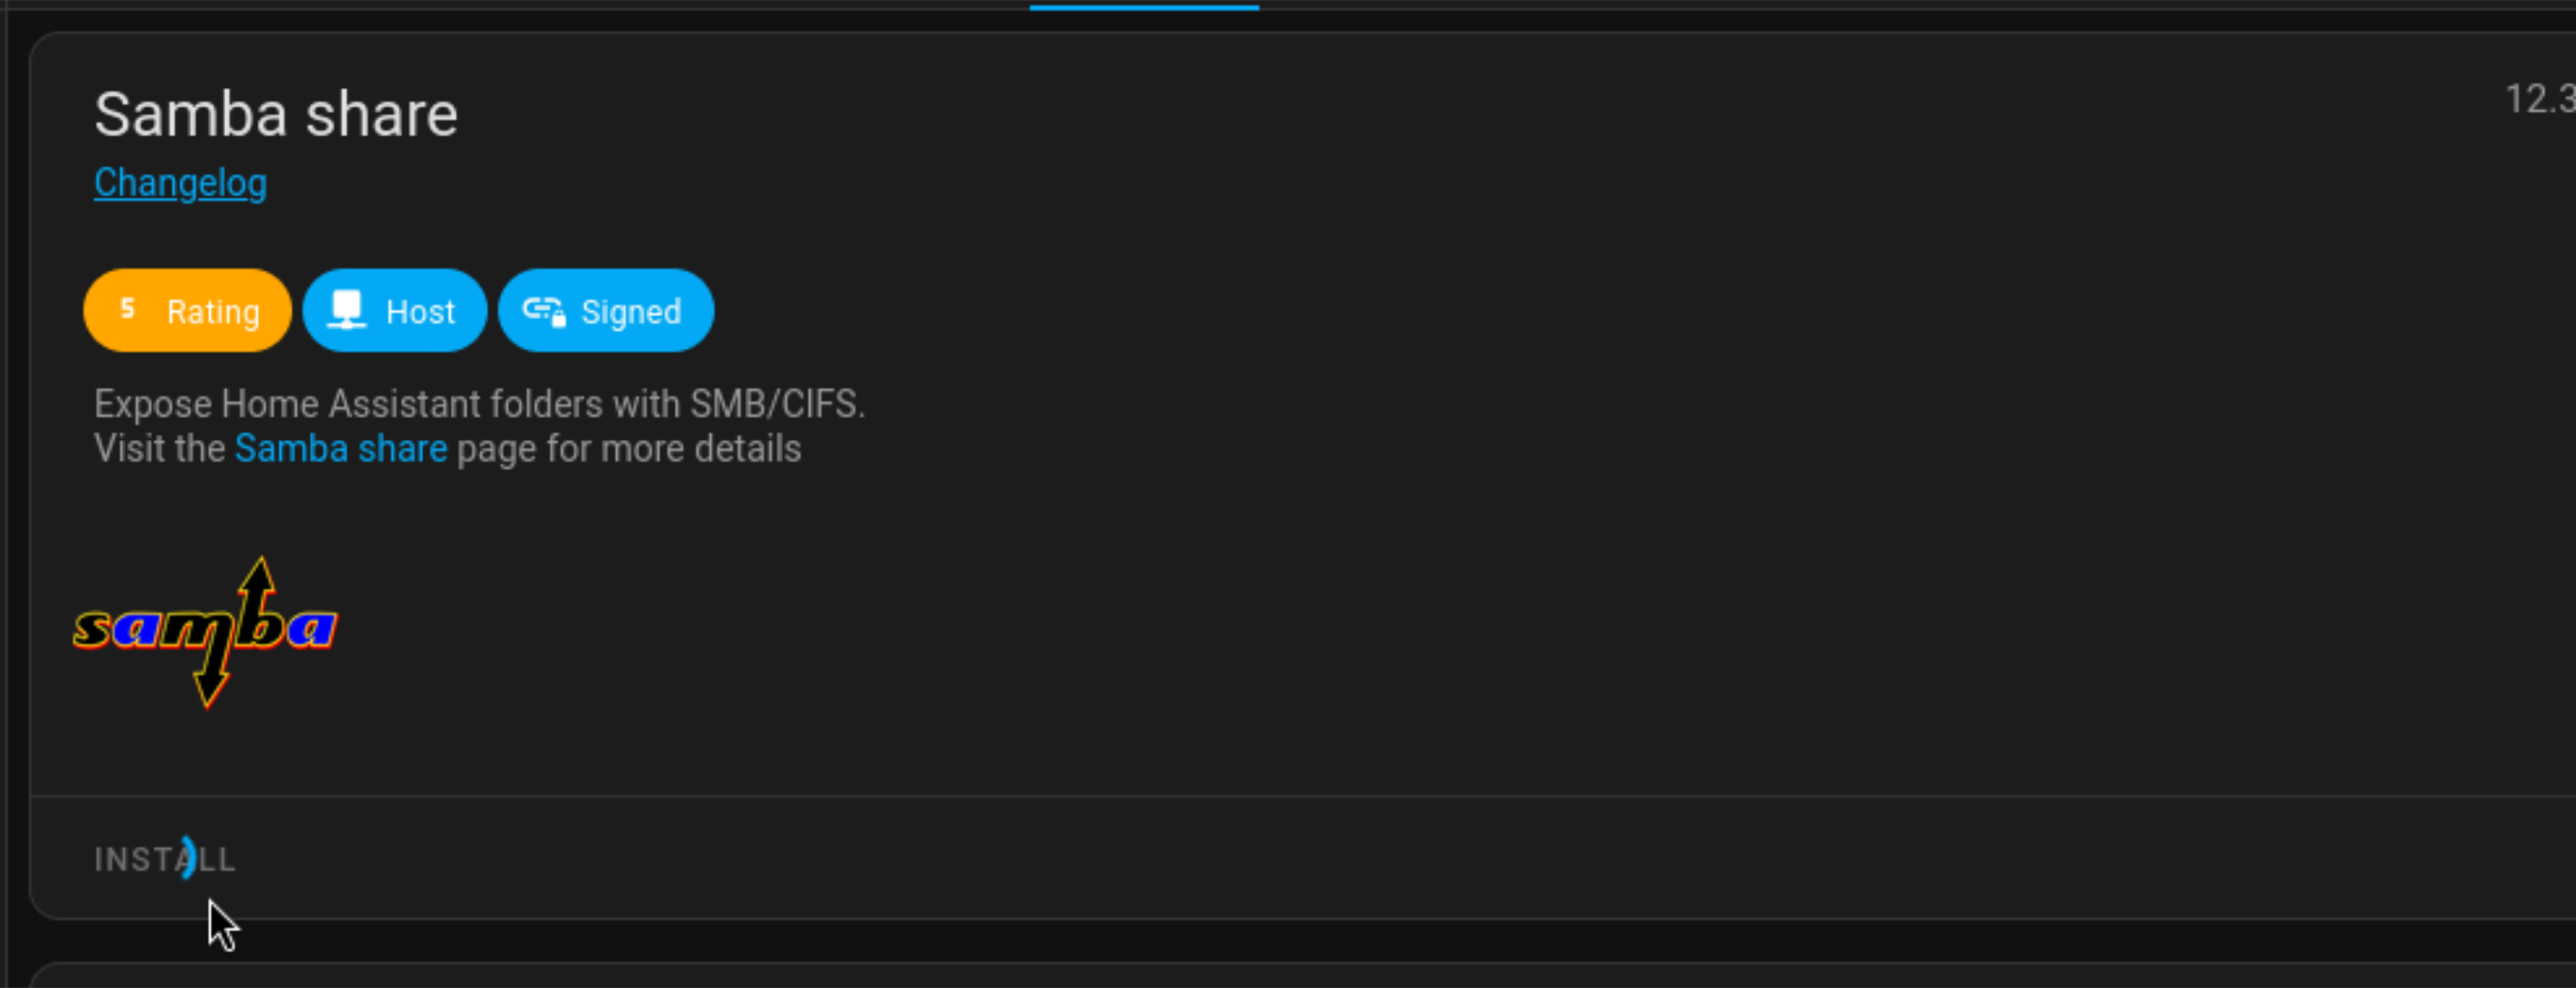
With the Samba Share add-on for Home Assistant, you can easily expose Home Assistant folders over the SMB/CIFS protocol, making it easier to manage configuration files, or back up things on the fly. This allows you to access your Home Assistant files from any device on your network.
The Samba Share add-on can also simplify tasks like editing configuration files or uploading custom themes and icons. No more manually transferring files via SSH or FTP.
Install Samba Share
To install, open the Home Assistant web interface. Go to Settings, then Add-ons. Search for “Samba Share” and click on it. Click “Install” to install the add-on to Home Assistant.
Home Assistant can be installed for free on a Raspberry Pi or old PC and used as a local smart home hub. It can bring together many different smart home devices, from many other ecosystems. Check out some of the neat things you can do with Home Assistant .
Also read:
- [Updated] In 2024, Beginner's Guide to AV1 Codec
- [Updated] In 2024, Unlock Humor Potential with Kapwing’s Designer
- Cod Warzone Dev Error #6328 Tackled - Ultimate Guide for Players
- Créer Des Médias Multiformes Avec Facilité via Les Outils Movavi
- Exploring Cutting-Edge Technology with Dell XPS Laptops – A Must-Read Analysis by ZDNET
- How to recover deleted photos on Xiaomi 14 Pro
- Mastering ChatGPT in Google Spreadsheets & Documents
- Review of the Eufy Security Solocam S34#: Top-Notch Solar-Powered Motion Detector for Enhanced Safety
- Review: The Ultimate Guide to Sennheiser Momentum Sport - Gym-Ready Headphones
- Revolutionary WiiM Enhancement: Boost Your Classic Sound Setup with the Latest Streaming Technology
- Say Goodbye to Lost Remotes: Discover the Ultimate Solution with Our Innovative Tile Remote Finder
- Section 2C: Similar but Increasingly Complex Questions
- Smart Home Oversight Made Easier with Matter 1.3
- Streamlined Strategies for Reducing Warframe Lag and Enhancing Gameplay Fluidity
- Why Does My Nokia 130 Music Keep Turning Off By Itself? 6 Fixes Are Here | Dr.fone
- Title: Maximize Your Smart Home with Key Home Assistant Extensions – Don't Skip Them!
- Author: Richard
- Created at : 2024-12-10 20:15:47
- Updated at : 2024-12-13 04:42:09
- Link: https://hardware-updates.techidaily.com/maximize-your-smart-home-with-key-home-assistant-extensions-dont-skip-them/
- License: This work is licensed under CC BY-NC-SA 4.0.