Top 7 Strategies for Long-Lasting Headphone Care and Maintenebnce
Top 7 Strategies for Long-Lasting Headphone Care and Maintenebnce
Quick Links
- Routine Cleanings
- Know Your Device’s Weak Points
- Coil Correctly
- Humidity Avoidance and Prevention
- Match the Impedance
- Lower Volume Before Switching On
- Download an EQ App to Lower the Bass
For the longest time, my headphones would often break within a year. First, I blamed the manufacturers, but I took a hard look at my habits and realized the problem—me! So I changed my ways and replaced my bad habits with good ones, which have significantly elongated the life of my audio devices.
1 Routine Cleanings
Dirt, moisture, and sweat will reduce the lifespan of your headphones or earbuds. To avoid these damaging effects, it’s necessary to clean them regularly. As best practice, wipe them down about once a week with a lint-free cloth that’s lightly dampened with isopropyl alcohol. Doing so avoids harmful buildup on the earpads and drivers, which can hurt audio quality and even wear out internal electronics.
Be careful with isopropyl alcohol on the exterior of your devices. Confirm with the manufacturer whether its safe to use with your headphones. If you can’t confirm this, it’s best to stick with a damp soapy cloth. Strong alcohol mixtures can wipe away more than just dirt, and so it’s better to stick to weaker formulations (e.g. around 70% or less), but the fact remains that some materials that are used for headphones might be dissolved or defaced by strong alcohol.
Routine wipe-downs are a great first step, but you should also give them deeper cleaning every month or so. Every listening device requires a slightly different cleaning process depending on its design, but generally, you start by removing the earpads and wiping them with a gentle cleaning solution, like 63% rubbing alcohol or hydrogen peroxide.
To clean the drivers, use tweezers to remove any hair or gunk. However, be careful not to lodge or push it further into the driver. You’ll also want to wipe the driver with a cloth dampened with isopropyl alcohol, but do so with it facing downward to avoid moisture. For any hard-to-get dirt or debris, use a damp Q-tip or soft-bristled toothbrush to get in there. Finally, let everything air dry before reassembly.
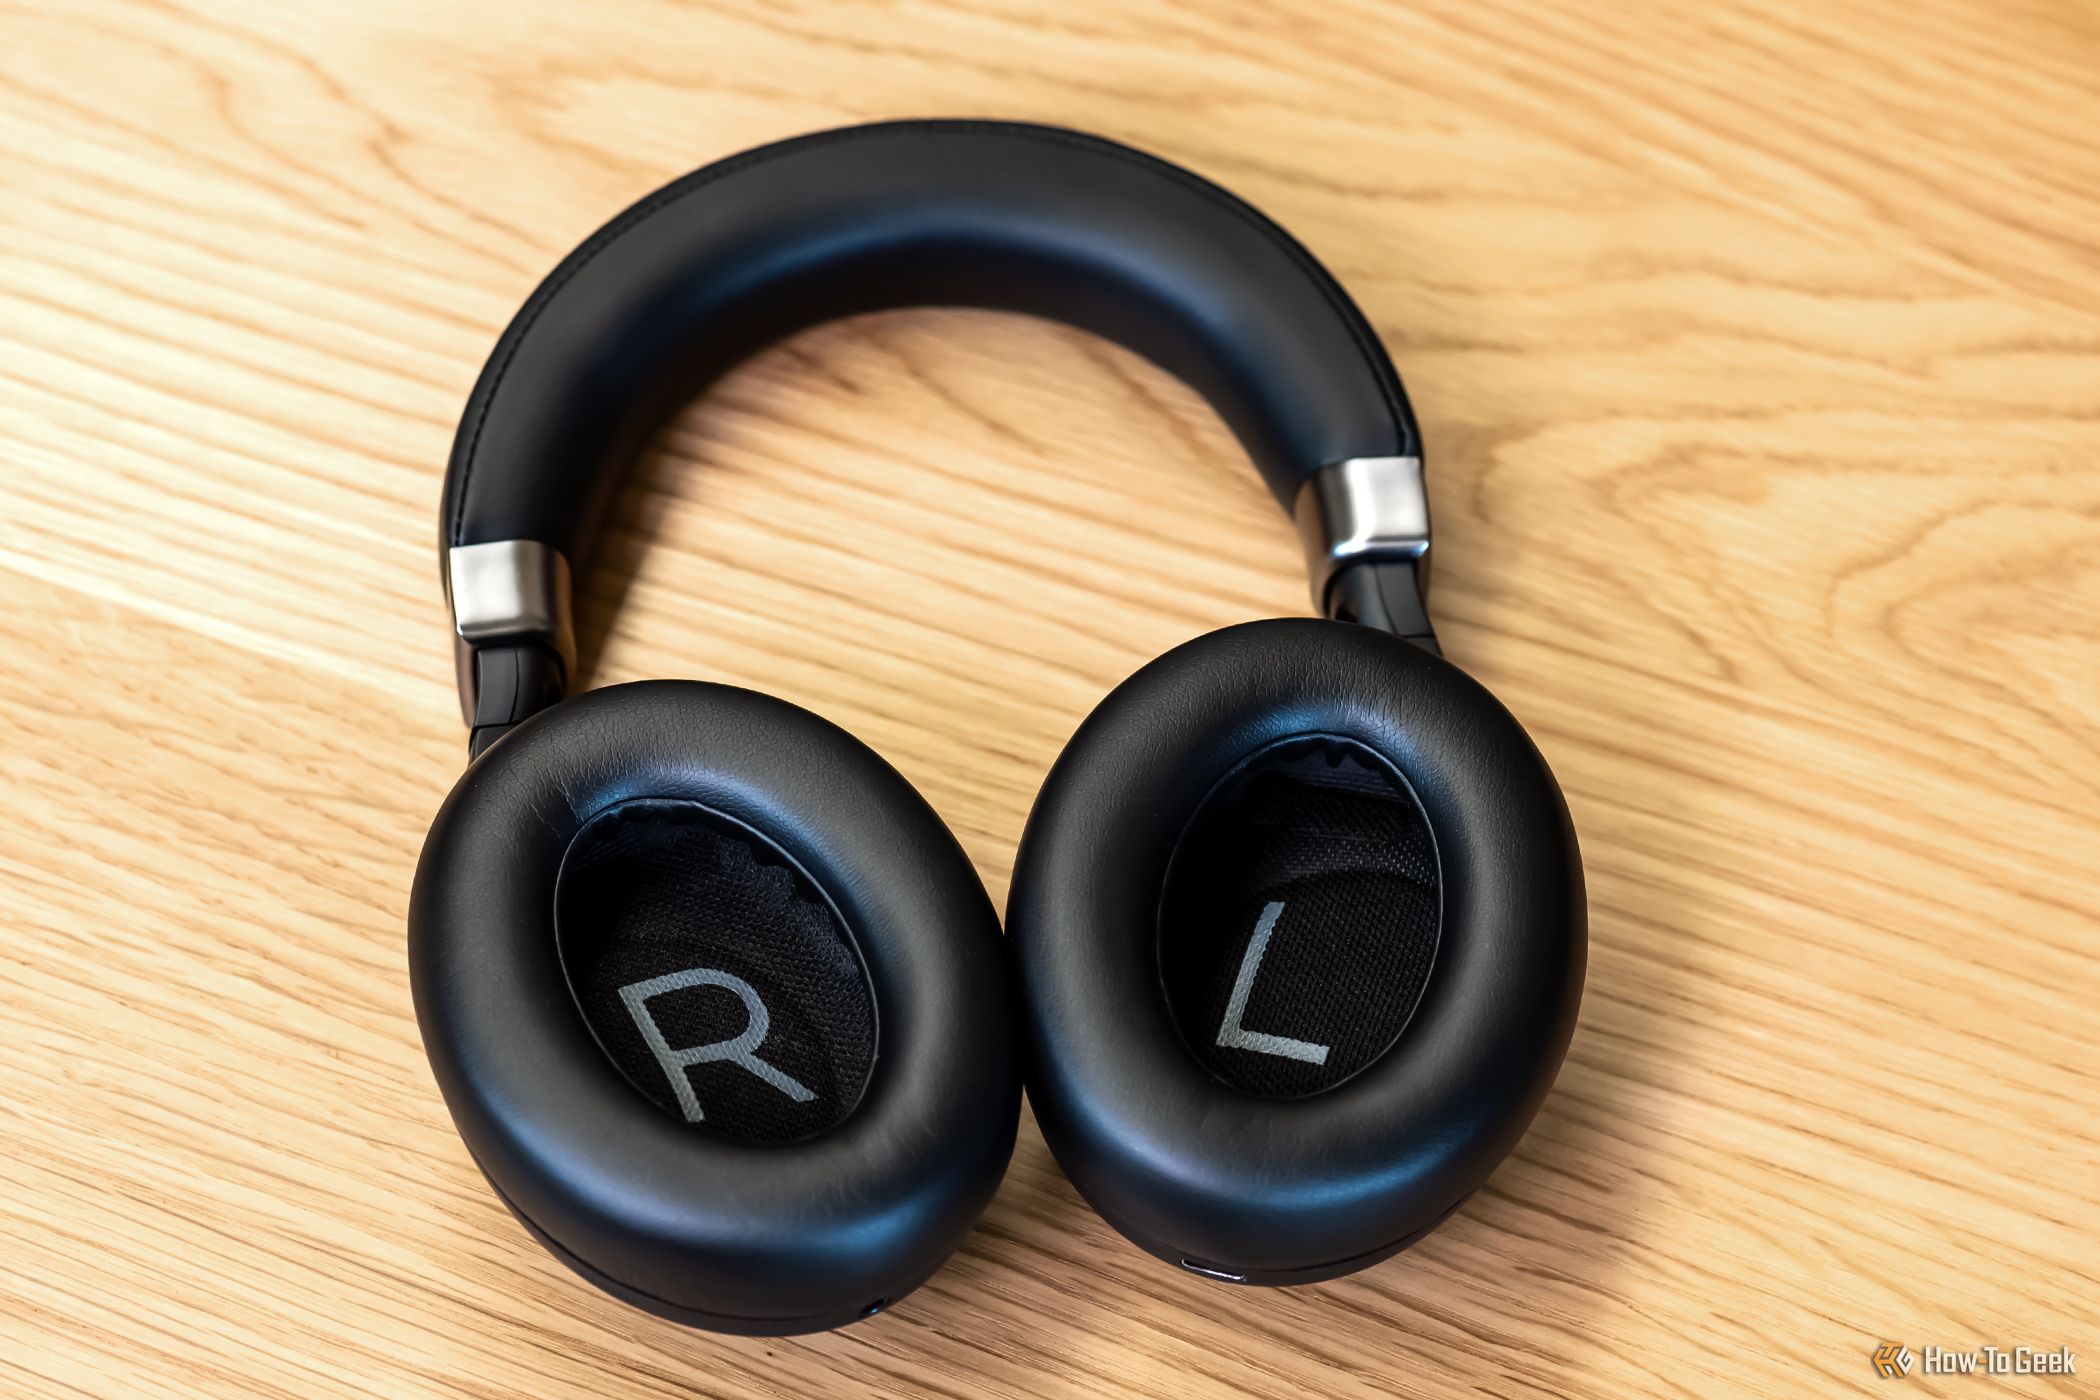
2 Know Your Device’s Weak Points
Every device has its soft spots, and with headphones, it’s the cable, connection points, drivers, head straps, and hinges.
Concerning cables, for those using wired headphones, always remove them by the base plug rather than pulling on the cable. Continuously pulling the cable will wear the wire out where it connects to the jack.
Tyler Hayes / How-To Geek
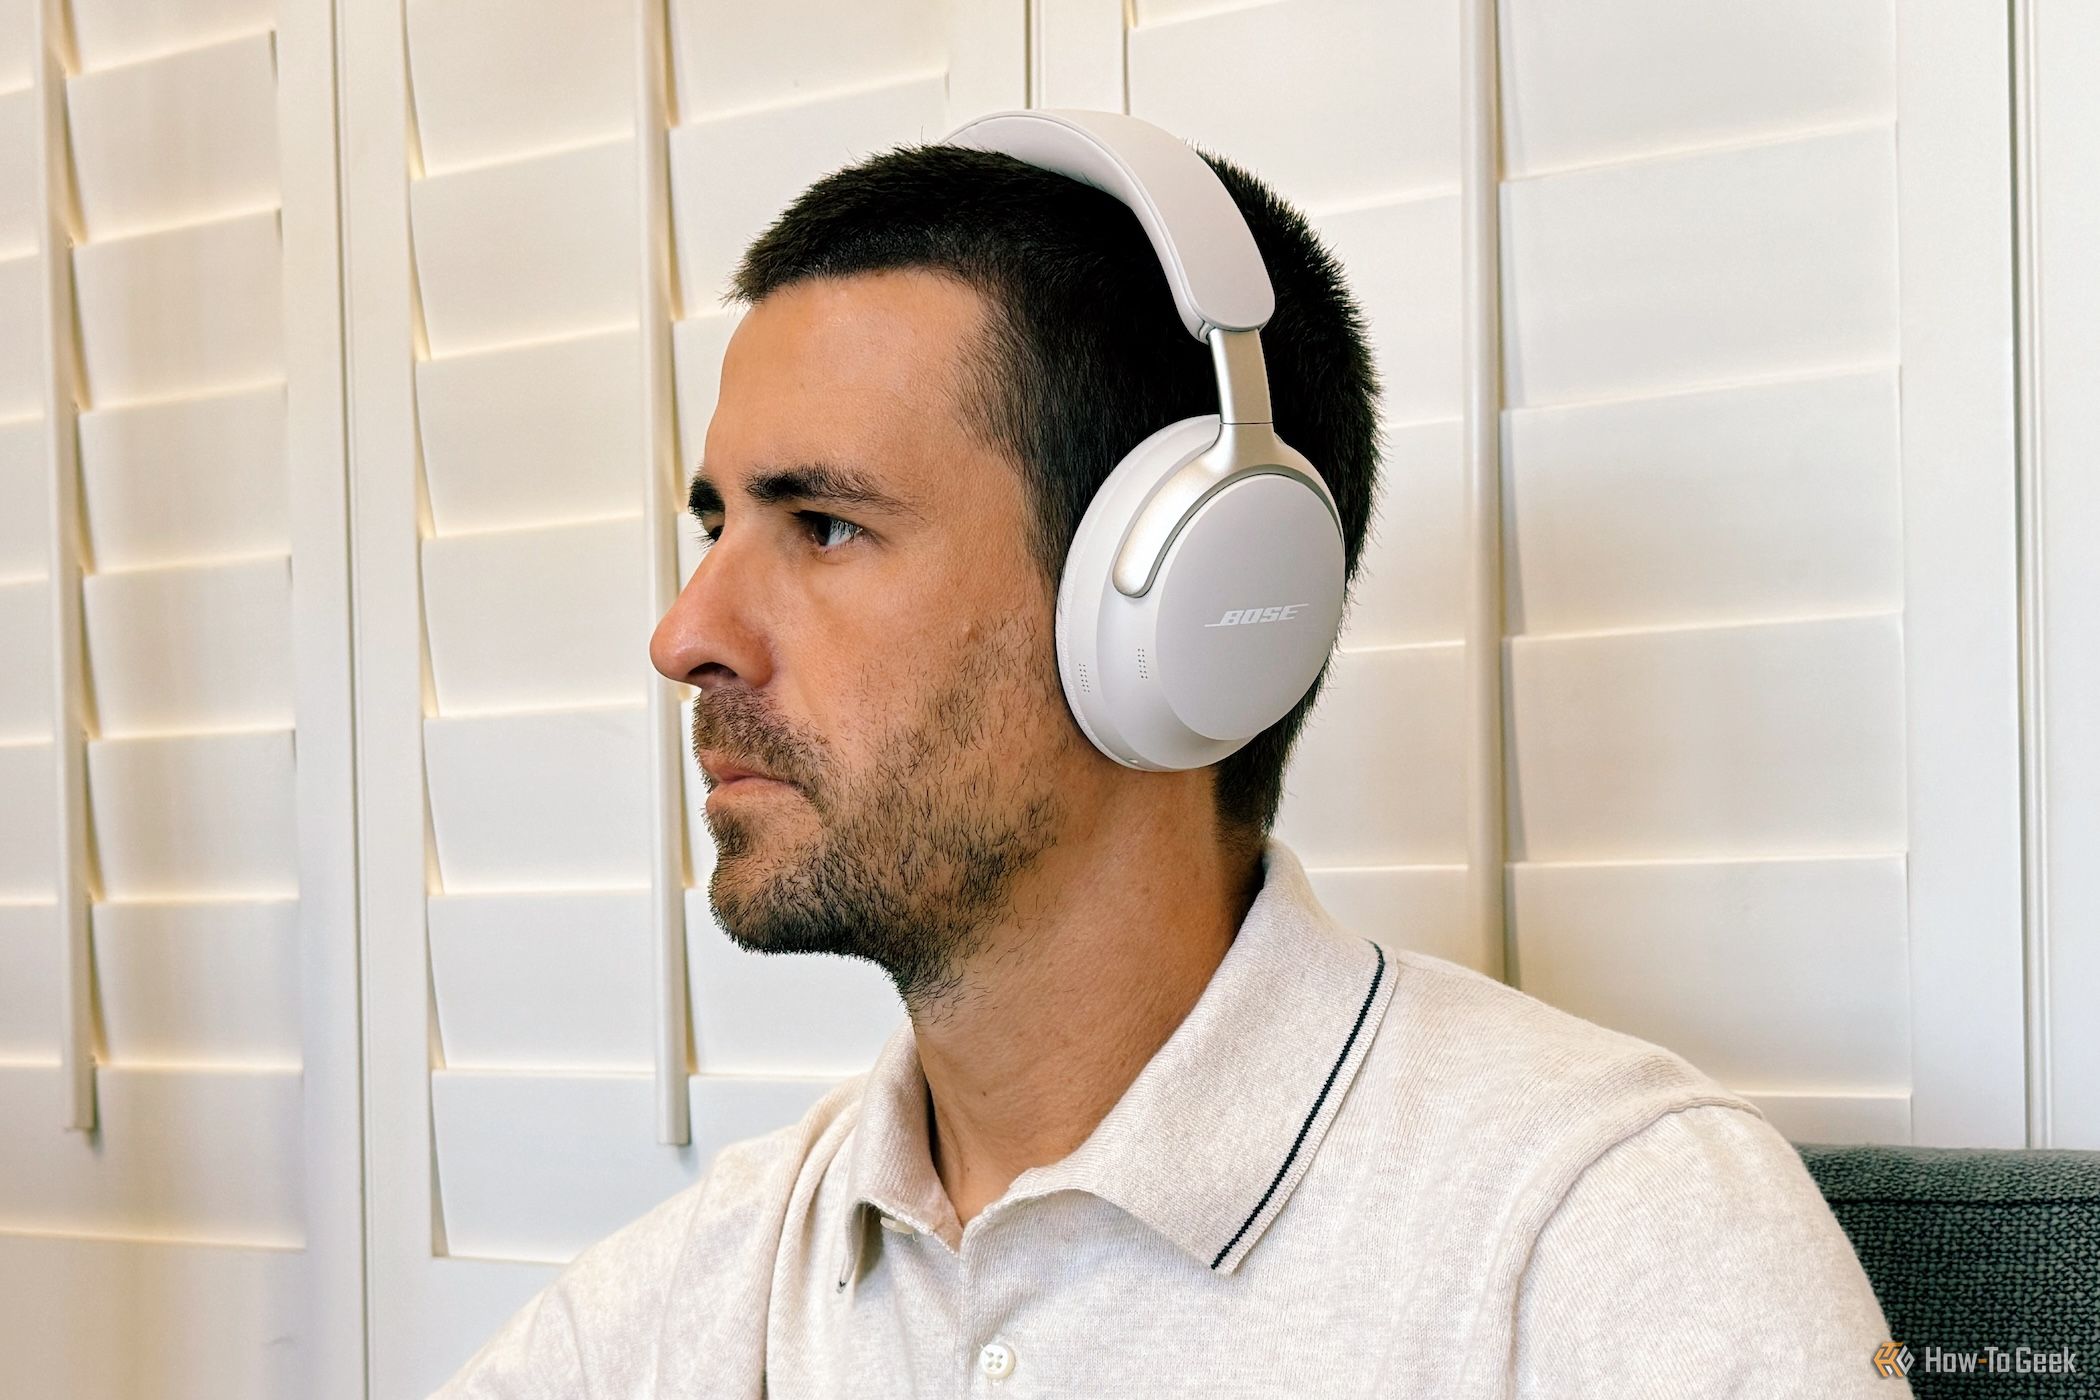
Saying “Don’t drop your headphones,” is painfully obvious. However, there are steps you can take to lower your chances of dropping them, because this can cause irreversible damage.
First, wear them properly! Meaning, put them over both ears and with the headband snug around the top of your head. Also, buy headphones that fit your head because, if they’re too loose, your chances of them being knocked off increases significantly.
3 Coil Correctly
The first principle of coiling is a straight cable, meaning you need to remove any twists, knots, or tangles. Leaving a cable with twists, turns, and kinks can fray the internal wiring. With a straight, well-maintained wire, you keep a more consistent connection, which retains higher sound quality for longer.
Once you’re done using your headphones, run your fingers along the wire to straighten them. If you have more serious twists, you can place a weighted object, like a book, on one end of the cord, stretch the cord out over a flat service, and leave it there for 24–48 hours. From there you create the loop, which I do by wrapping it around three of my fingers. Once you get through the end, thread the remaining part of the cable through the coil, and make sure not to pull it tight, as this can wear out the cord.
4 Humidity Avoidance and Prevention
Moisture is the nemesis of headphones, damaging the padding material and corroding the circuits and connections. As such, do all you can to avoid high humidity exposure, which is anything above 50%.
If you live in a humid area, as I do, purchase some packets of silica desiccant , place them in the case or drawer where you stow your headphones, and replace the packet every six to twelve months. Also, avoid storing listening devices in areas that are subject to higher humidity, like the bathroom or kitchen.
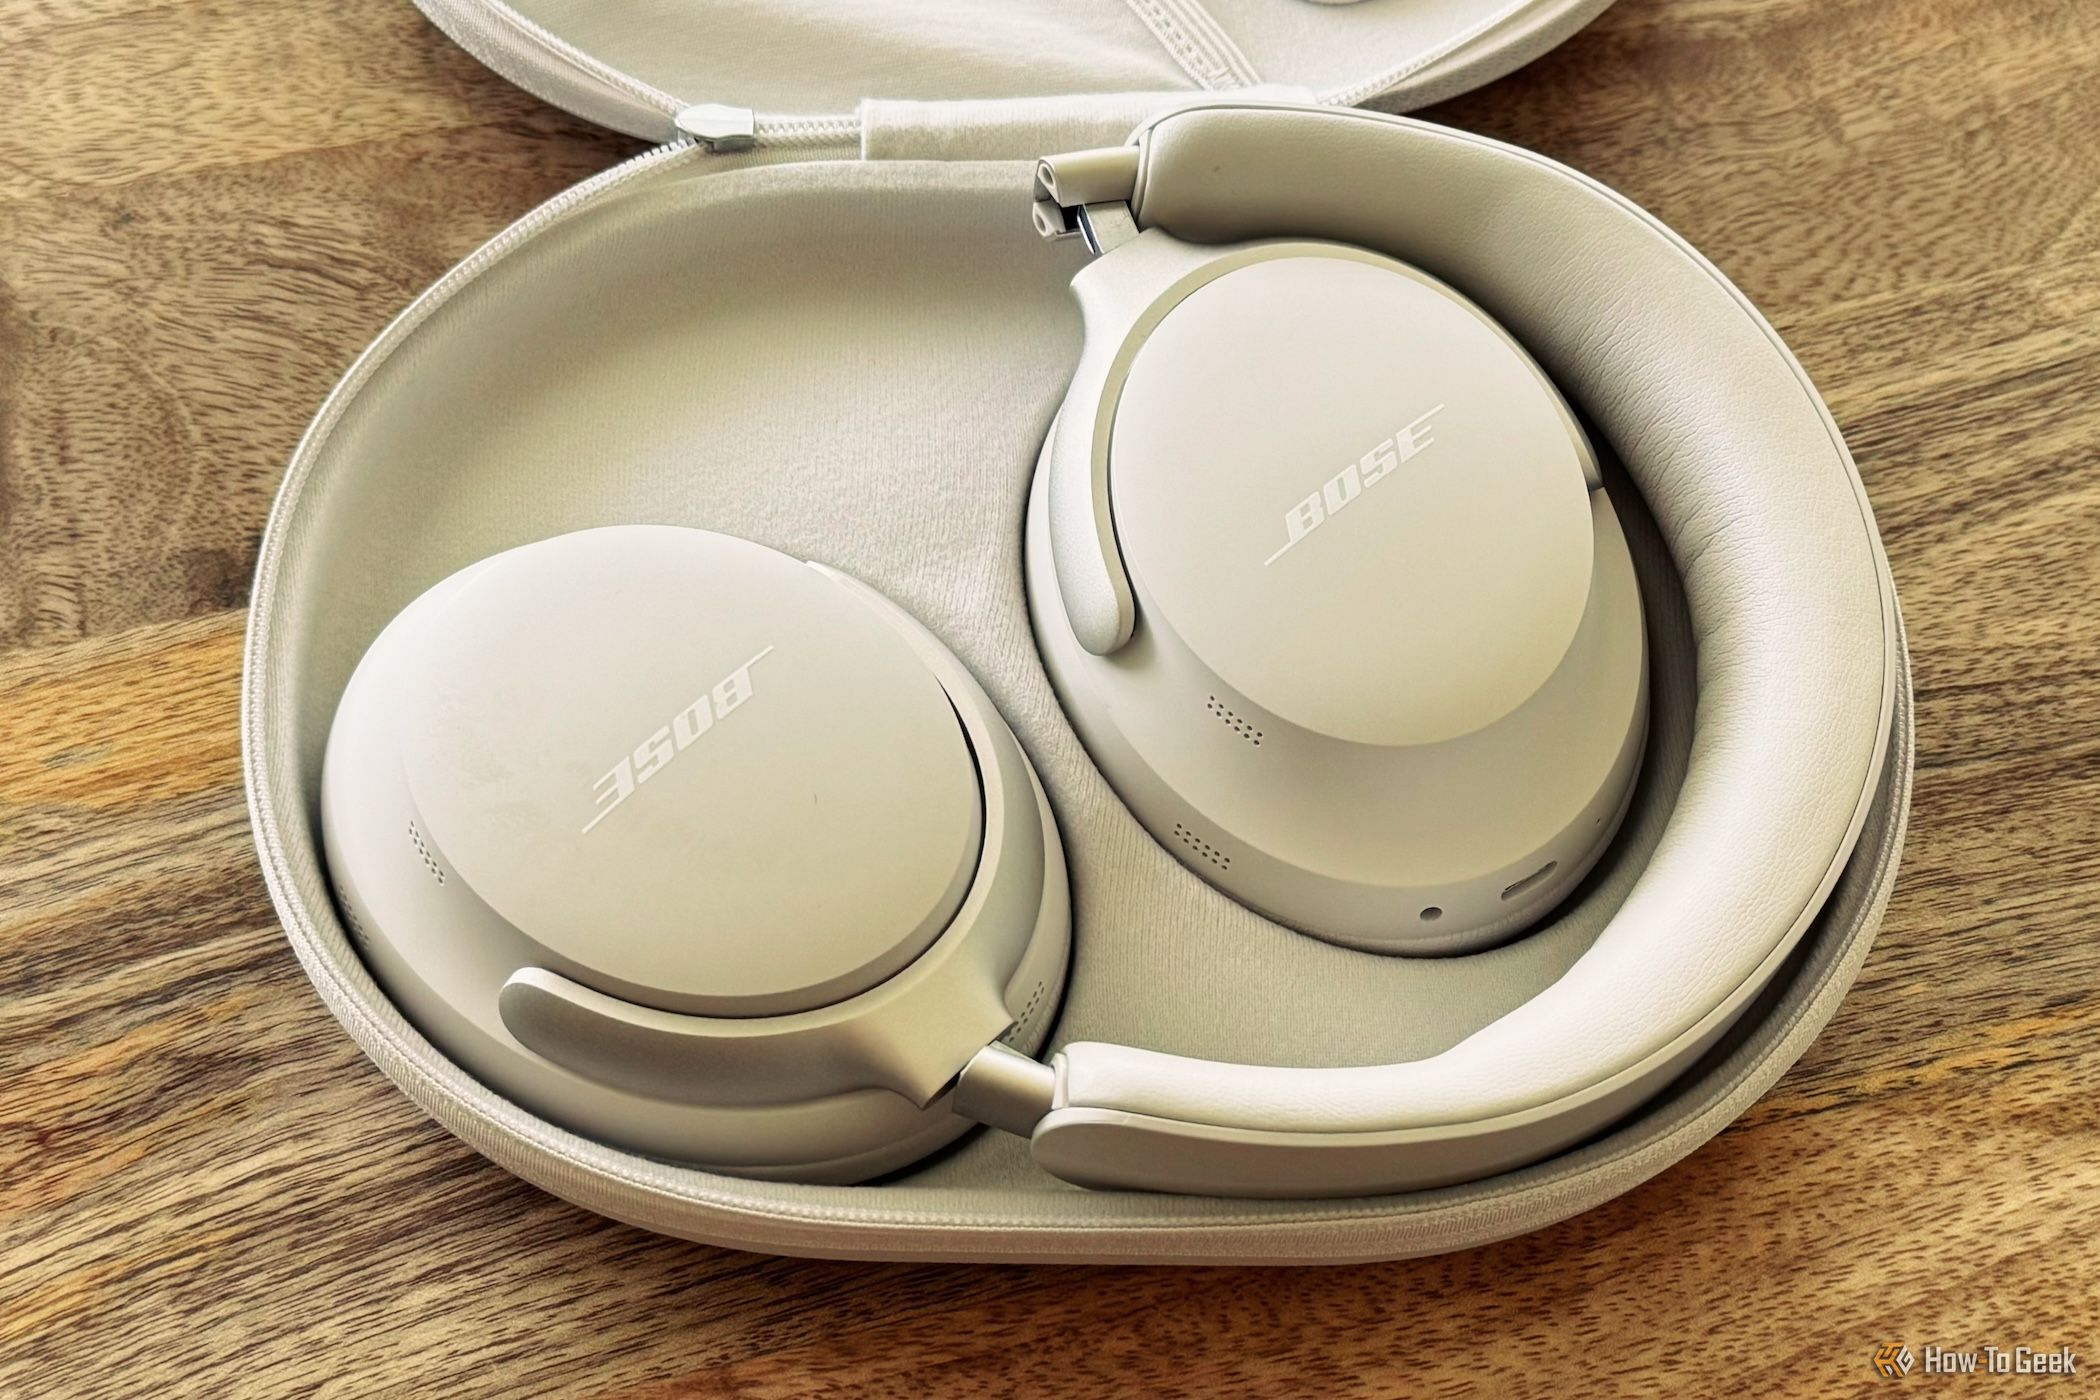
Tyler Hayes / How-To Geek
If you get your headphones wet, such as getting caught in a rainstorm, immediately dry them off with a cloth. Then place them in a container with a handful of Silica packets. Then, let them air dry, but not under direct sunlight, and don’t use any heat sources, like a hair dryer, as doing so can cause major irreversible damage to the circuits and speakers.
5 Match the Impedance
Headphones work by taking an electronic current from a power source to activate the drivers, which then produce physical force to create sound. When using headphones, it’s crucial to understand the basics of impedance. Impedance is the resistance to the flow of an electrical current, measured in ohms. If the current flowing from the output source to the drivers is excessive, it can potentially damage the headphones.
Always ensure your headphone’s impedance is compatible with your amplifier. Most headphones have impedance ratings that range from 16 to 32 ohms, which matches them well with portable devices, meaning phones, tablets, or laptops. These devices typically do not risk damaging headphones. However, if you’re plugging your headphones into a stereo system or high-power amplifier, an impedance mismatch could lead to suboptimal performance and potentially damage the headphones if played at high volumes.
There are a couple of methods to check your headphones’ impedance. The easiest way is to check the product specs to confirm its impedance rating in ohms. It may also be written on the headphones themselves in some cases. Once you know the impedance, to check for a correct match , ensure the amplifier’s output impedance rating is compatible with your headphones’ impedance. Generally, the amplifier’s output impedance should be significantly lower than the headphones’ impedance to avoid sound quality issues and ensure safe operation.
6 Lower Volume Before Switching On
Before throwing on your latest playlist, ensure that the volume is lowered, and raise it gradually. Not only will this save you from a jump scare, but it also avoids straining the drivers. Additionally, keeping the volume a couple of notches below max is another great way to ensure you don’t put any unnecessary wear on the headphones’ speakers.
7 Download an EQ App to Lower the Bass
Low frequencies put more stress on the drivers than anything else. So, if you can, reduce the bass by adjusting your EQ. You can do this either directly from the phone or through a third-party EQ app, like Wavelet . Also, if your headphones don’t have a dedicated bass driver, I’d recommend avoiding using any bass boost features offered on your phone or music streaming service, given these can diminish audio quality.
Think of these tips the next time you don your headphones, because even the most basic awareness and care can prevent your listening devices from stress, wear, and damage. Many of these practices result in additional benefits, like better sensitivity, less distortion, and clearer sound.
Also read:
- [New] Digitize Effortlessly - Turn to Mematic for 2024
- [New] In 2024, Unveiling the Secrets of Ken Burns Motion in Camtasa
- [New] SHOWTIME Media Centre All Media in One App for 2024
- [Updated] 10 Must-Have Features for Optimal Free SRT Tools
- [Updated] Mastering the Art of Shorts Imagery Quick, Smart Updates
- [Updated] Photographer's Choice Top 10 Watermarks Software
- Cost Efficiency:
- Easy Access to Updated Drivers for Epson's XP 310 - Download Here!
- Easy and Effective Ways to Prevent Frequent Steam Game Crashes
- Get the New Microsoft Bluetooth Driver Version: Compatible with Win 11, 10, 8 & 7 – Free Download!
- Improve Your Dell XPS 15 Experience: A Comprehensive Guide to Installing the Latest Windows Drivers
- In 2024, Free MOV Video Orientation Changers Top 5 List
- In 2024, How to Track WhatsApp Messages on Xiaomi 14 Without Them Knowing? | Dr.fone
- Perfectly Sync Your Devices with the Newest M-Audio Fast Track Driver Downloads for All Windows Editions
- Step-by-Step Tutorial on Driver Installation for Lenovo Portable Docks
- Step-by-Step Tutorial: Securing Optimal Performance of AMD GPUs for Ethereum and Bitcoin Mining on Windows Systems
- The Anticipated Arrival of Google Pixel Tablet - Insight Into the Specs and Release Info
- Thrustmaster T300 Controller Driver Downloads Compatible with Windows 11 & Windows 10
- Updated Guide: Downloading and Installing HP Ethernet Drivers for Various Windows Versions
- Title: Top 7 Strategies for Long-Lasting Headphone Care and Maintenebnce
- Author: Richard
- Created at : 2024-12-05 23:20:42
- Updated at : 2024-12-12 17:01:43
- Link: https://hardware-updates.techidaily.com/top-7-strategies-for-long-lasting-headphone-care-and-maintenebnce/
- License: This work is licensed under CC BY-NC-SA 4.0.